
Mon - Sat 7:00 am to 7:00 pm
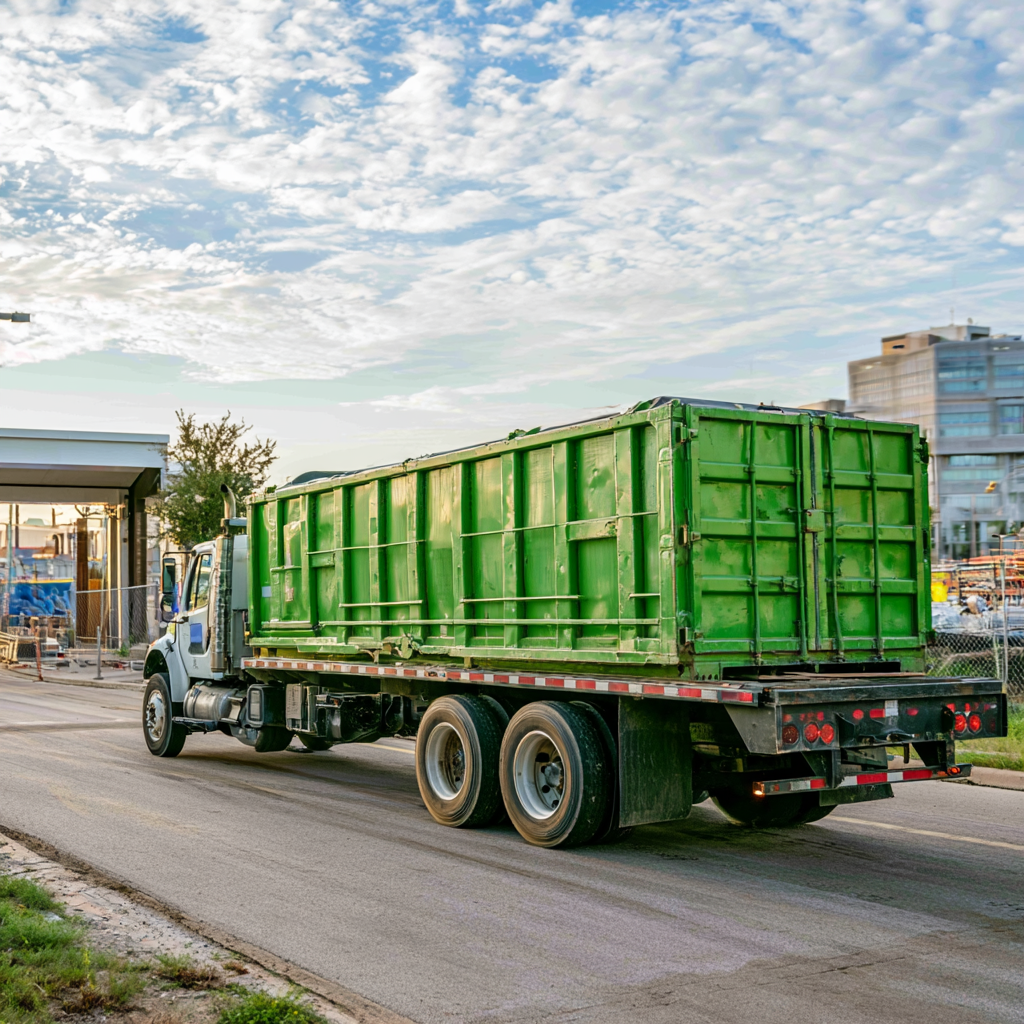
How to Rent a Dumpster in Arlington, Texas
Renting a dumpster in Arlington, Texas is a straightforward process once you know the steps, and a few early decisions make the difference between a smooth rental and one that runs into delays or unexpected costs.
Prime Dumpster coordinates roll-off container rental for homeowners, contractors, and property managers across Arlington and the broader DFW metro area. This guide walks through the entire dumpster rental process, from assessing your project to scheduling final pickup.
Fast Facts: The Dumpster Rental Process in Arlington, TX
“Most of the questions we get from first-time renters come down to not knowing what to expect at each stage of the process,” says a Prime Dumpster Pro. “Once you see the steps laid out, booking a dumpster is a lot simpler than people assume.”
The dumpster rental process in Arlington breaks down into seven steps:
- Assess your project and identify the type of debris you’ll be disposing of
- Choose the right container size based on project scope and material type
- Select a provider and request an itemized quote
- Schedule delivery with enough lead time for your project timeline
- Prepare your site and confirm placement details before the truck arrives
- Fill the container correctly and stay within the weight and fill line limits
- Schedule pickup when the project is complete
Each of these steps is covered in detail below, with practical tips specific to renting a dumpster in the Arlington, TX area.
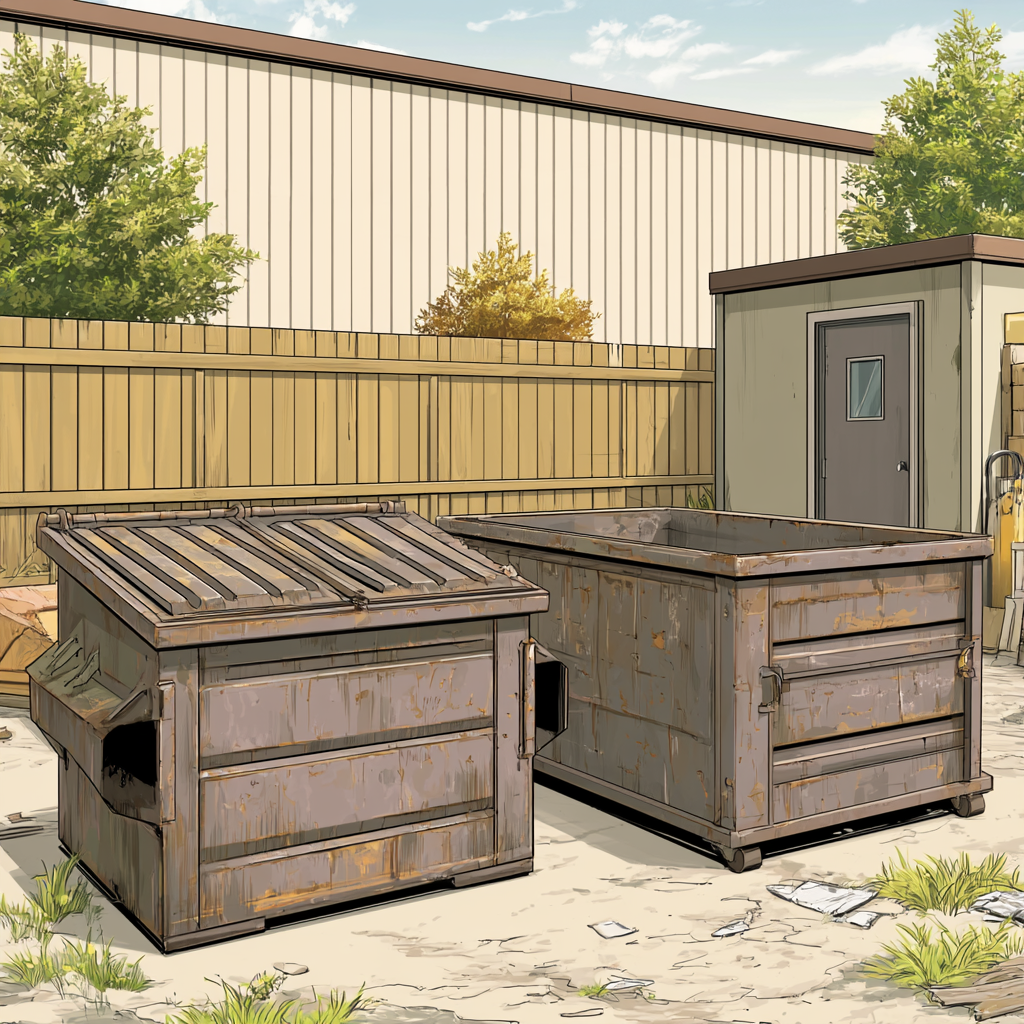
Step 1: Assess Your Project and Debris Type
Before booking a dumpster, two questions shape every decision that follows: what kind of project you’re doing and what type of debris it will generate.
- Home renovation, roofing, and remodeling projects generate construction debris like drywall, lumber, and shingles
- Estate cleanouts and downsizing projects generate furniture, appliances, and general household goods
- Construction and demolition projects generate heavier debris, including concrete and masonry
- Event cleanup generates a mix of food waste, packaging, and general attendee refuse
“The debris type question matters more than people expect, because it determines both the container size and what’s actually allowed in the bin,” says a Prime Dumpster Pro. “Getting that identified early makes every step after it easier.”
Step 2: Choose the Right Container Size
Matching the container to your project scope and debris type is one of the most important decisions you’ll make during the rental process. An undersized container leads to overfill fees and a second haul, while an oversized one means paying for capacity you don’t use.
| Size | Approximate Dimensions | Common Uses |
| 10-Yard Dumpster | 12′ × 8′ × 3.5′ | Small cleanouts, concrete and masonry removal, targeted debris loads |
| 15-Yard Dumpster | 16′ × 7.5′ × 4.5′ | Bathroom and kitchen renovations, single-room remodels, small roofing jobs |
| 20-Yard Dumpster | 22′ × 7.5′ × 4.5′ | Multi-room renovations, mid-sized residential projects, commercial cleanouts |
| 30-Yard Dumpster | 22′ × 8′ × 6′ | Large renovations, full home cleanouts, light commercial construction |
| 40-Yard Dumpster | 22–24′ × 8′ × 8′ | Major construction, large-scale demolition, high-volume mixed debris |
Heavy materials, including concrete, brick, asphalt, and masonry, can only go into a 10-yard dumpster due to transport weight limits. Large projects generating significant volumes of heavy material may require multiple 10-yard containers staged in sequence rather than a single larger bin.
Step 3: Select a Provider and Get a Quote
Not all providers offer the same level of service, and the lowest advertised price doesn’t always reflect the true cost of the rental.
- Look for transparent, itemized pricing that breaks down delivery, disposal, and overage rates separately
- Ask whether the provider assigns a dedicated point of contact for your rental
- Confirm the provider’s policy on prohibited materials before booking
- Check that the provider has experience with your specific project type, whether residential, commercial, or event-based
“A quote that gives you a single flat number without explanation makes it hard to know what you’re actually paying for,” says a Prime Dumpster Pro. “Ask for the breakdown before you commit to anything.”
Step 4: Schedule Delivery
Booking lead time varies depending on the season and project type, but earlier is almost always better than later.
For most residential projects in Tarrant County, two to three days of lead time is sufficient, though a week or more is better when the project start date is fixed. Commercial and contractor projects with tight timelines benefit from booking as early as possible, particularly during busy construction seasons when availability tightens across the DFW metro area.
When scheduling, share your project type, debris type, delivery address, and preferred date with your provider so the container and timing can be confirmed accurately.
Step 5: Prepare Your Site
Placement decisions affect both the cost and the ease of the dumpster delivery process.
Containers placed on private property, such as a driveway or parking lot, typically require no permit and add nothing to the base rental price. Placement on a public street or right-of-way in Arlington requires a permit, and applications can be submitted through the city’s online permitting portal. Fees, processing times, and specific requirements can change, so checking the City of Arlington’s permits page directly before applying ensures you have the most current information.
Before the truck arrives, clear the delivery path of vehicles and equipment, mark the placement area, and confirm the surface can support a loaded container.
Step 6: Fill the Container Correctly
How you load the dumpster affects how much usable capacity it delivers and whether you avoid extra fees.
- Load heavy materials first and keep them separate from lighter general debris
- Break down bulky items to maximize space
- Stay below the fill line marked on the container
- Keep prohibited materials, including hazardous waste, tires, batteries, and liquids, out of the bin entirely
“Overfilling is one of the most preventable issues we see,” says a Prime Dumpster Pro. “A container loaded above the fill line can’t be picked up safely until it’s brought back into compliance, which just adds a delay nobody wants.”

Step 7: Schedule Pickup
Once your project wraps up, a quick call or message to your provider is all it takes to arrange pickup.
Contacting your provider before the rental period ends, rather than waiting for it to expire, gives you more control over the pickup date and helps you avoid automatic extension charges. If the project runs longer than expected, ask about extending the rental rather than letting it lapse.
Are you looking for more in-depth information, check out our Dumpster Rental FAQ for Arlington, Texas.
Rent a Dumpster in Arlington, Texas, with Prime Dumpster
Learning how to rent a dumpster in Arlington, Texas comes down to seven manageable steps, and getting each one right from the start keeps the project on schedule and the final cost predictable.
Prime Dumpster connects homeowners, contractors, and property managers across Arlington and the broader DFW metro area with reliable, right-sized roll-off dumpster rentals. A dedicated account manager will walk through every step with you and coordinate delivery and pickup around your project timeline.
Contact our team to get started on your dumpster rental in Arlington, Texas.
If you are looking for Q&A with the Prime Dumpster Pros: Dumpster Rental FAQ for Arlington, Texas, Click Here
Recent Posts


Follow Us
Have any questions?
+1 844 853 3867
Give us a call today so we can help you find the right waste & sanitation solution for
your project!
Contact Us