
Mon - Sat 7:00 am to 7:00 pm

How to Gut a House
Whether you’re a homeowner taking on your first major renovation or a contractor prepping a client’s project, knowing how to gut a house comes down to scope, sequence, and disposal.
Gutting means stripping a home back to some or all of its bare bones, from a single room to a full teardown to the studs, and no matter how many jobs you’ve done, a house gut still produces the largest debris load of any residential project.
At Prime Dumpster, we help homeowners and contractors arrange dumpsters for the mountains of drywall, cabinetry, flooring, and fixtures a gut produces, so the work never stalls behind a wall of debris.
This guide covers what gutting really means, the scope choices in front of you, what a gut costs, and how to work through the demo zone by zone.
Fast Facts: The 4 Main Takeaways for Gutting a House
Gutting a house is one of the most involved home projects a homeowner can take on, spanning demolition, disposal, and often licensed trade work. Here’s a quick look at the essentials before the details.
- Gutting a house means removing interior finishes and fixtures, and sometimes the drywall and insulation too, leaving behind a bare shell ready for a new build-out
- A house gut is a partial DIY project for most homeowners, since cabinets, flooring, and drywall demo can be handled at home, while electrical, plumbing, gas, and structural work should go to licensed pros
- A house gut timeline runs a few days to a week for a partial gut and several weeks for a whole-home gut to the studs, with hazardous material abatement adding significant time
- The right dumpster size for a house gut is a 30-yard or 40-yard roll-off dumpster for most whole-home projects, and multiple hauls or container swaps are the norm rather than the exception
Because a gut throws off so much material, you want to plan the disposal aspects up front, with rented dumpsters often being the preferred choice. At Prime Dumpster, your account manager will help you find the right sizes for your project, arrange swaps for larger jobs, and deliver an upfront quote so the disposal budget isn’t a moving target.
Learn more about similar projects in our hub Home Demolition Guide, which covers more on this subject plus additional demolition projects that leave at least some of the home intact.
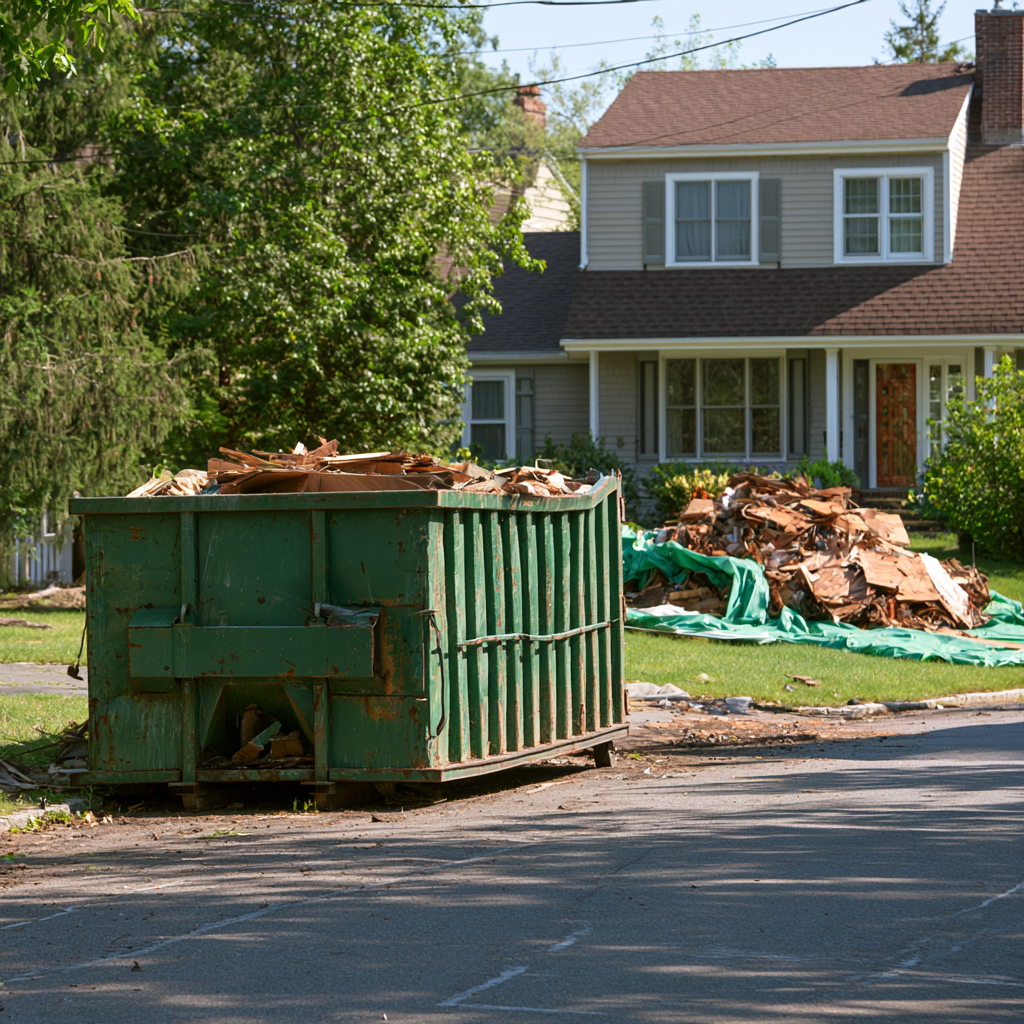
Full Gut, Partial Gut, or Down to the Studs?
A gut can be a single room, a whole home cosmetic strip, or a full teardown to the framing, and the scope drives everything else.
The first real decision is scope, and it shapes the timeline, the budget, the permits, and the size of your dumpster.
A partial gut targets one or two rooms, usually a kitchen or a bathroom. You pull the fixtures, cabinets, and flooring, and sometimes the drywall, then rebuild fresh. It’s the most manageable version and the one most DIYers can handle.
A whole-home cosmetic gut takes finishes throughout the house down to the drywall. Flooring, cabinets, trim, doors, and fixtures come out, but the drywall itself stays. It’s the middle path when the layout works but everything inside looks tired.
A full gut to the studs is the biggest version. Drywall, insulation, and every finish come out until you’re staring at framing, subfloors, and the mechanicals in the walls. Gutting a house to the studs costs the most of the three, but it also opens the door to reconfiguring layouts, updating wiring and plumbing, and starting from a truly clean slate.
Once you’ve settled on scope, everything else, cost, permits, timeline, dumpster size, flows from that choice.
What It Costs to Gut a House
Cost to gut a house depends on scope, square footage, materials, hazardous material abatement, and whether you DIY or hire out.
How much does it cost to gut a house? The answer depends on how far you take it and how much of the work you handle yourself. A partial DIY gut of a bathroom sits at the low end. A full gut to the studs with an abatement, handled entirely by a contractor, lands at the very top.
The drivers that move the number most:
- Scope: partial, cosmetic whole-home, or to the studs
- Square footage: bigger homes cost more across every category
- Materials removed: cabinets and appliances are lighter, tile and plaster are dense and drive up disposal
- Hazardous materials: asbestos, lead paint, or mold abatement add real cost and require licensed professionals
- Disposal volume: a full gut typically needs multiple large dumpsters or swaps
- Labor: DIY trims labor cost significantly, though electrical, plumbing, and structural work still need pros
For the cost to gut and renovate a house or the cost to gut and remodel a house, the gut itself is often the smaller line item. The renovation that follows- new drywall, cabinets, flooring, fixtures- is where most of the total budget goes. That’s why the average cost to gut and remodel a house typically dwarfs the price to gut a house on its own.
Cost varies widely by region, home age, and unknowns hidden behind the walls. Get more than one quote for anything you’re hiring out.
Before You Start: Permits, Utilities, and Hazardous Materials
A gut requires permits, safely shut-off utilities, and an asbestos and lead-paint check on any home built before 1978.
The prep work on a gut is more serious than most demo projects. Skipping it can turn a big project into a dangerous one.
Permits come first. Most municipalities require a permit for a gut, especially when you’re touching electrical, plumbing, or structural elements. Check with your local building department before day one, since starting without a permit can trigger stop-work orders, fines, and problems at resale.
Utilities are next. Shut off electrical service to the areas being demolished at the breaker, and cap plumbing at the shut-off valves. A licensed plumber or the utility should shut off and disconnect gas lines; never handle them DIY.
Then the safety piece that catches too many homeowners off guard. Homes built before 1978 can contain asbestos in flooring, insulation, and ceiling texture, and lead in paint. Disturbing them without testing puts your family and everyone helping at real risk. The EPA’s guidance on protecting your family from asbestos explains how to have suspect material tested before you touch it, and lead-paint testing follows similar protocols. If either turns up, hire a licensed abatement contractor. That’s not a place to cut corners.
Renting a dumpster to handle the demo? Before you call, it helps to have a few basics in hand: the scope of your gut, your ZIP code, and your best guess at how many days you’ll need the container. A rough sense of your debris type (mostly drywall, cabinetry, tile) makes the size conversation quicker too.
The booking itself is straightforward. Once you share those details, your account manager gives you an upfront quote, confirms a delivery date, and sets pickup for the end of your rental window.
Tools, Safety, and Setup
A gut calls for demolition tools, respirators, dust containment, and a dumpster placed close to the exit path.
Gather your tools before demolition day:
- Pry bars, cat’s paws, and a claw hammer
- Reciprocating saw with wood and metal blades
- Sledgehammer and hand mauls
- Drill or impact driver
- Wet-dry vac and heavy-duty contractor bags
- Plywood, drop cloths, and plastic sheeting for dust barriers
Safety gear is non-negotiable on a gut. Wear a NIOSH-approved respirator (not a paper mask), a hard hat, eye protection, heavy gloves, long sleeves, and steel-toed boots. Drywall dust alone is enough to require serious respiratory protection, and older homes multiply the risks.
Set up the site before demo starts. Seal off unaffected rooms with plastic sheeting, protect the floor along your carry path with plywood, and stage your dumpster as close to the primary exit as you can. Every extra step from wall to container adds up fast when you’re moving tons of debris.
How to Gut a House, Zone by Zone
A gut goes cleanest when you work zone by zone, starting with wet areas and moving top-down within each room.
A whole-house gut is easier to think about as a series of smaller demos than one massive project. Working zone by zone keeps the site organized and the debris manageable.
Kitchen
Kitchens usually come out first, since they have the most fixtures to disconnect. Pull the appliances and disconnect the water lines to the sink and dishwasher. Unbolt the countertops and lift them out. Remove the cabinets by backing out the wall screws, upper cabinets first, then base cabinets. Tile backsplashes and flooring come next, using the techniques for tile removal (chisel or floor scraper for tile, pry bar for backer board).
Bathrooms
Bathrooms follow the same pattern: shut off the water, disconnect the fixtures, then work top-down. Pull the mirrors and lights first, then the vanity, then the toilet (drain the tank, disconnect the supply line, unbolt from the floor). Remove the tub or shower surround, then the tub itself, and finally the wall tile and flooring.
Walls and Ceilings
If you’re going to the studs, walls and ceilings are the biggest debris producers. Score the drywall in sections with a utility knife, then punch through with a hammer and pull sheets down in large pieces. Insulation comes out next, bagged and sealed as you go. If a wall is load-bearing or contains mechanicals, that’s the moment to bring in a pro before anything more comes down.
Floors
Flooring goes last, since the rest of the demo will beat up whatever’s underneath. Pull it up section by section, using a scraper or pry bar depending on the material. If you’re replacing the subfloor, cut it into manageable sections with a reciprocating saw and pull it in pieces.
“The gut that goes smoothly is the one that goes wet-rooms first, then top-down in every room,” said the Prime Dumpster Pro. “People try to blast through a whole floor of drywall in one push, and then they can’t move for the pile. Take a room to bare framing before you start the next one.”
Handling the Debris: The Biggest Load of Any Home Project
A house gut produces more debris than any other residential project, so plan on multiple hauls or the largest containers available.
Volume is the piece that catches even experienced DIYers off guard. A full gut can produce several tons of drywall alone, and that’s before the flooring, cabinets, tile, and fixtures. Loading a roll-off dumpster as you demo keeps your work zones clear and turns the whole job into a steady rhythm instead of a bottleneck.
Two disposal realities to plan around. Weight adds up faster than volume for certain materials: drywall, tile, and plaster are dense enough that a big container hits its weight limit long before it looks full, so keep heavy debris in a smaller dumpster. And a good share of what comes out of a gut can be recycled or salvaged. The EPA’s guide on reducing, reusing, and recycling construction and demolition materials covers what has second-use value, and salvaged doors, cabinets, and lumber often find buyers if you post them locally.
“On a full gut, plan the swaps before the first container arrives,” says the Prime Dumpster Pro. “One 40-yard dumpster is almost never enough for a whole house. Two swaps beats trying to squeeze it all into one container that gets rejected at pickup.”
| Size | Dimensions | Weight Capacity | Best For a Gut |
|---|---|---|---|
| 10-Yard Dumpster | 12′ x 8′ x 4.5′ | Up to 2 tons | Concrete, tile, or plaster debris; a single-room partial gut |
| 15-Yard Dumpster | 16′ x 8′ x 4.5′ | Up to 3 tons | A kitchen or bathroom gut |
| 20-Yard Dumpster | 22′ x 8′ x 4.5′ | Up to 3 tons | A multi-room partial gut |
| 30-Yard Dumpster | 22′ x 8′ x 6′ | Up to 4 tons | A whole-home cosmetic gut |
| 40-Yard Dumpster | 22′ x 8′ x 7-8′ | Up to 5 tons | A full gut to the studs, often with swaps |
Dimensions and weight capacity are approximate and can vary by location.
When to Call a Pro
Electrical, plumbing, gas, load-bearing changes, and any hazardous material abatement are the parts of a gut that call for a licensed contractor.
Even a confident DIYer runs into work on a gut that shouldn’t be self-performed. Live electrical, plumbing behind the walls, gas lines, and any change to a load-bearing wall are places where a licensed trade is required, both for safety and to keep the project inspection-ready. Asbestos and lead-paint abatement fall in the same category and legally require licensed contractors.
For larger projects, a general contractor often runs the whole show. They coordinate the trades, pull permits, sequence the demo and rebuild, and handle inspections, which is why many whole-home gut projects are managed end-to-end by a GC rather than pieced together by the homeowner. Even a homeowner tackling most of a gut themselves benefits from a consult with a contractor before demo starts.
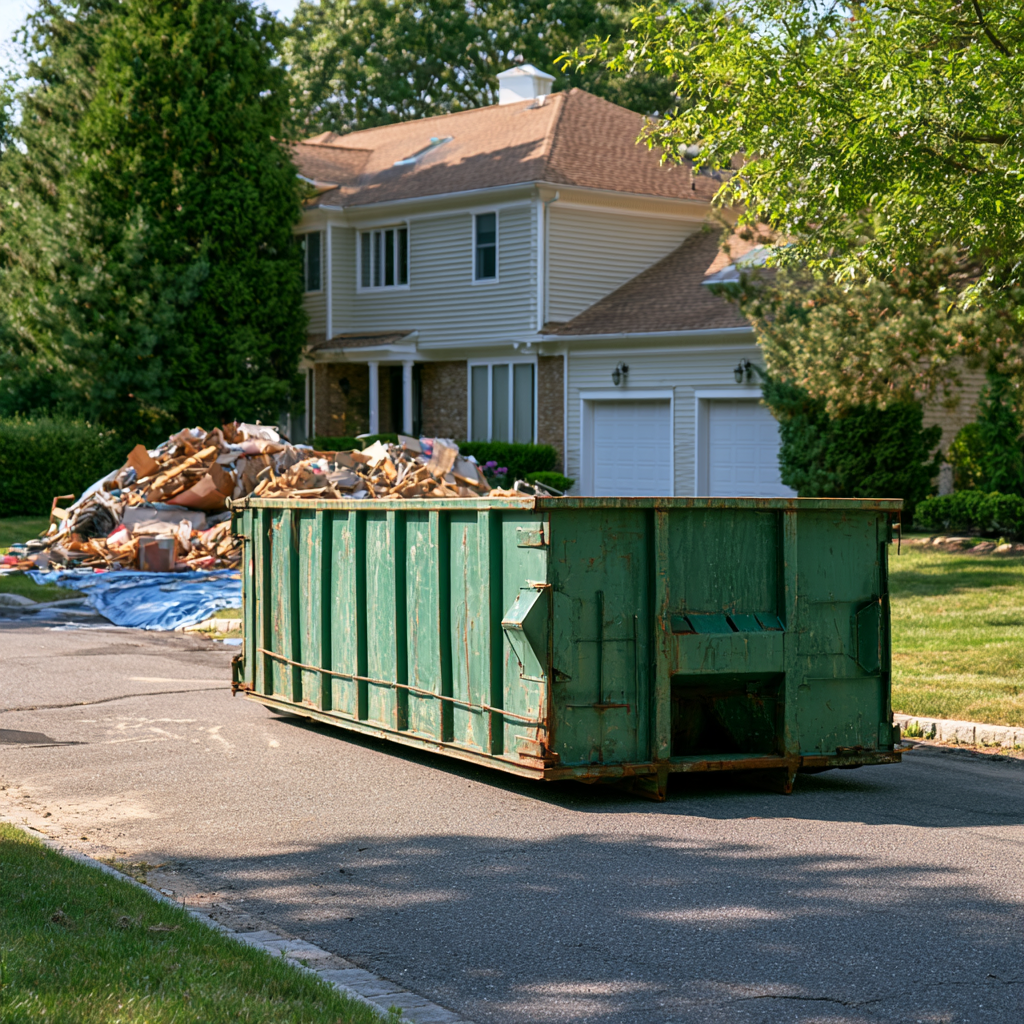
For Contractors: Managing Debris on a Gut Project
Contractors managing a gut win or lose on disposal logistics, so schedule swaps against the demo timeline, size containers to the debris phase, and lock in an account that keeps billing and documentation clean.
Contractors coordinating a house gut know the demo itself is the predictable part, and the disposal is where jobs run over. Here’s what’s worth thinking through before the first delivery.
Scheduling Swaps Around the Demo Timeline
The best swap schedule is built backward from the demo calendar, not forward from delivery. Line up swaps at the phase transitions, kitchen and bath rip-out, then drywall and insulation, then flooring and subfloor, so crews are never standing idle waiting for pickup. Building the swap dates into the project schedule up front, rather than calling when a container is full, is what keeps crews moving.
Sizing Across a Multi-Phase Gut
Container size can and should shift with the phase. A 30-yard often handles the fixtures-and-cabinets phase, then a 40-yard makes sense once drywall and insulation start coming down. Downsizing back to a 10 or 15-yard for concrete, tile, or subfloor debris keeps the load within a weight limit and avoids the overage on a big container that fills by weight before it fills by volume.
Job-Site Placement for Crew Productivity and Truck Access
Where the container sits shapes how fast the demo actually goes. Keep it as close to the primary exit as possible to shorten the carry path, and lay plywood along that path to protect the floor and speed up wheelbarrow runs. On the truck side, confirm clearance for the delivery driver ahead of time, at least 60 feet of straight approach, 22 feet of overhead clearance, and enough width for the container to be set down flat.
Documentation and Disposal Receipts
For client reporting, insurance, or LEED credit tracking, the disposal side needs a paper trail. Confirm up front that your provider issues weight tickets, disposal receipts, and diversion documentation on request. On projects pursuing LEED or a client’s sustainability targets, a provider that can document recycling and diversion percentages saves you a headache at project close-out.
Frequently Asked Questions
A gut means stripping a home to a bare shell, takes days to weeks depending on scope, and typically needs multiple large dumpsters.
What does it mean to gut a house?
It means removing interior finishes and fixtures, and often the drywall and insulation, so the space is stripped down to some or all of the underlying structure.
How long does it take to gut a house?
A partial gut of one room runs a few days. A whole-home cosmetic gut takes one to two weeks. A full gut to the studs typically runs three to six weeks, longer if hazardous material abatement is involved.
How much does it cost to gut a house?
It varies widely with scope, home size, and whether hazardous materials are found. DIY drops labor cost significantly, though pros are still needed for electrical, plumbing, and structural work.
Do you need a permit to gut a house?
Almost always for a whole-home gut, and often even for a partial gut that touches electrical, plumbing, or structural elements. Check with your local building department first.
How many dumpsters does a full gut need?
Usually more than one. A whole-home gut typically needs multiple large containers or swaps rather than a single delivery. Plan for it up front.
Stripped Down and Ready to Rebuild
Gutting a house is the biggest, dustiest, most physical project most homeowners will ever take on, and the ones that go well are the ones planned from the disposal side back. Nail down the scope, handle the safety and permits properly, and give the mountain of debris a real home before you swing the first hammer.
Prime Dumpster is here for the volume. We offer flexible rental terms, upfront quotes with no surprises, dumpster swaps for larger jobs, and a team that’ll help you plan the disposal side of the biggest project in the house.
Ready to strip it down? Contact our team for a fast, complete quote and custom recommendations on the right dumpsters for the gut.
If you are looking for How to Remove a Shed, Click Here
Recent Posts


Follow Us
Have any questions?
+1 844 853 3867
Give us a call today so we can help you find the right waste & sanitation solution for
your project!
Contact Us