
Mon - Sat 7:00 am to 7:00 pm

How to Remove a Tile Floor
Learning how to remove a tile floor is a projects that seems simple but can turn complicated quickly. The tile itself comes up fairly easily. However, dealing with the mortar underneath, and the sheer weight of the debris created, make this a job worth planning for. At Prime Dumpster, we help homeowners haul away the heavy, sharp rubble a tile tear-out produces, so the demolition never grinds to a halt.
This guide covers the tools you’ll need, how to remove floor tile step by step, the tricky parts most people underestimate, and how to get rid of the debris when you’re done.
Fast Facts: Removing and Disposing of Tile Flooring
A quick look at what you’re signing up for before you start swinging a hammer.
How hard is removing a tile floor?
Removing a tile floor is DIY-friendly but labor-intensive. Prying up tile is straightforward, while scraping the old mortar is the part that tests your patience.
How long does it take?
A small bathroom can be done in a day. A whole floor usually runs a weekend or more.
What tools do you need?
A hammer and chisel or a floor scraper for smaller jobs, and a rotary hammer for large or stubborn floors, plus full safety gear.
What size dumpster do you need?
A 10-yard is right for most tile jobs, since tile is heavy enough to hit a weight limit fast.
Because tile debris is so dense, sizing the container is where people slip up. A Prime Dumpster account manager can match a dumpster to a heavy tile load, give you an upfront quote, and set delivery and pickup around the needs of your home demolition project.
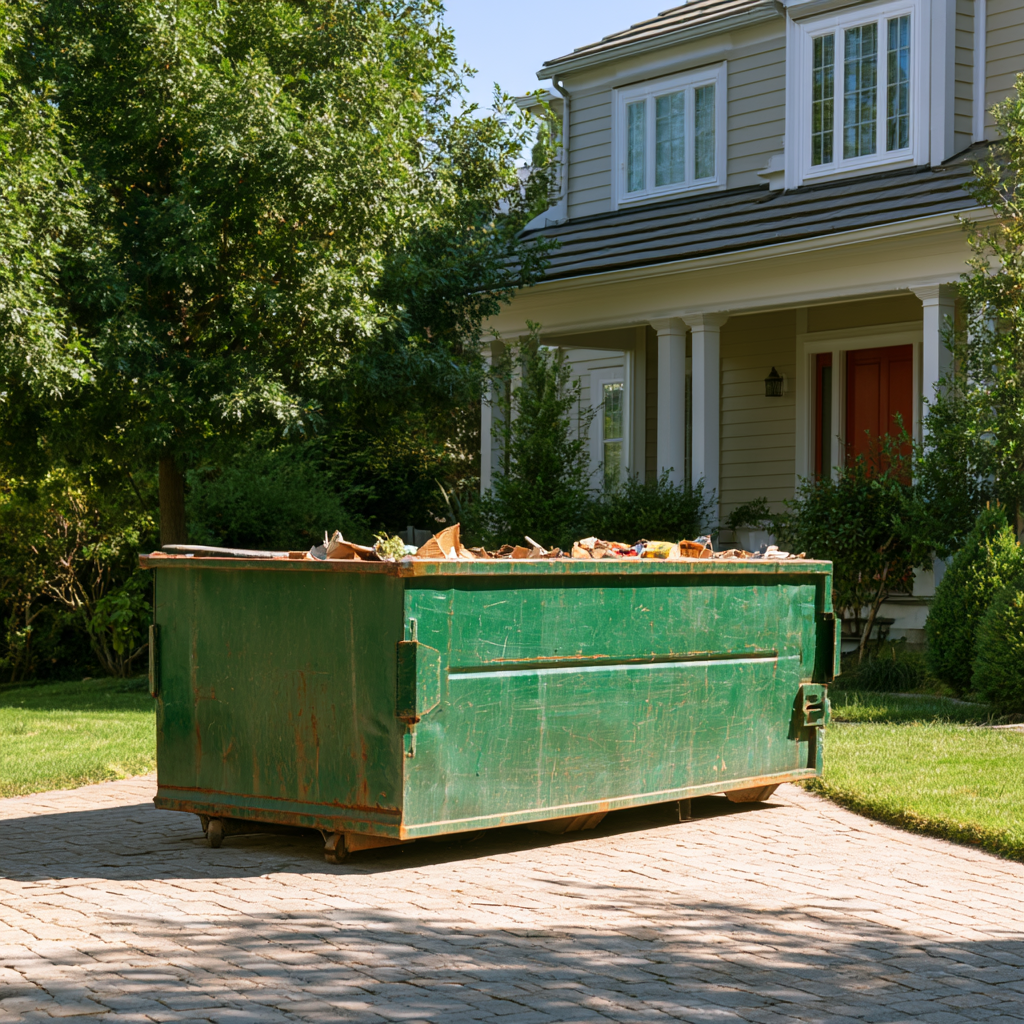
Before You Start: Tools, Safety, and the Asbestos Check
Tile removal calls for the right demolition tools, serious safety gear, and an asbestos check on any floor installed before 1980.
Gather your gear before the first tile cracks. For most floors you’ll want:
- A hammer and cold chisel, or a long-handled floor scraper
- A rotary hammer with a chisel bit for large or stubborn areas
- A pry bar and a shop vacuum
- Heavy gloves, eye protection, a dust mask or respirator, knee pads, and closed-toe boots
- Buckets or a wheelbarrow to move the debris
Safety isn’t optional here. Broken tile edges are razor-sharp, and the work throws off a lot of fine dust. One critical check comes first: flooring and adhesive installed before 1980 can contain asbestos, which is dangerous when disturbed. Don’t sand or grind a floor you’re unsure about. The EPA’s guidance on protecting your family from asbestos explains how to have suspect material tested before you touch it.
How to Remove a Tile Floor, Step by Step
Removing floor tile means creating a starting edge, then chipping up tiles in sections with a chisel or floor scraper.
Start by clearing the room completely and sealing off doorways to keep dust from traveling. Pull up any baseboards or trim along the floor, and disconnect and move appliances or fixtures in the way.
Next, create a starting point. Break one tile in the center with a firm hammer strike, then use that opening as an edge to work from. Slide your chisel or scraper under the surrounding tiles at a low angle and pop them loose. Once you find the rhythm, the tiles tend to come up in a steady rush.
Work in sections and clear the debris as you go. The best way to remove a tile floor is to keep your workspace open, since broken tile piles up fast and the sharp edges make it easy to trip or get cut. On a large or well-bonded floor, a rotary hammer with a chisel bit turns hours of hand work into a much quicker job.
“Everybody thinks the tile is the hard part, but the tile pops right up,” said the Prime Dumpster Pro. “It’s the mortar underneath that eats your weekend, and that’s the part people never budget time for.”
Removing Thinset, Adhesive, and the Subfloor
After the tile is up, the bonded thinset or adhesive has to come off too, and the right approach depends on whether the subfloor is concrete or plywood.
Pulling up the tile only gets you halfway. Underneath, you’ll find thinset mortar or adhesive still bonded to the subfloor, and a new floor needs a flat, clean surface to sit on.
On a concrete slab, the goal is to knock the thinset down flush. A floor scraper handles thin layers, while a rotary hammer or a grinder tackles stubborn spots. This is the most common question with how to remove tile from concrete floor, and the honest answer is that it takes patience and muscle.
On a plywood subfloor, it’s often faster to remove and replace the top layer than to scrape it perfectly clean, especially if cement backer board was installed under the tile, which usually comes up in chunks with a pry bar. If you’re dealing with old floor tile adhesive or mastic, scrape what you can, and treat any pre-1980 mastic as a possible asbestos risk.
Cost and When to Call a Pro
DIY tile removal saves on labor, but large floors, concrete subfloors, and suspected asbestos are good reasons to hire out.
Doing it yourself mainly costs your time, tool rental, and a dumpster. When you hire out, the cost to remove a tile floor tracks square footage, the tile type, and how much work the subfloor needs.
A pro is worth it in a few cases: a large area you can’t finish in a reasonable window, thinset bonded to concrete that won’t budge, or any floor you suspect contains asbestos. For a single room of ceramic tile on plywood, most determined DIYers can handle it.
Renting a dumpster for home renovation projects is more affordable than people realize. You can learn more in our Dumpster Rental Pricing Resource Page.
Hauling Tile Debris: Heavier Than It Looks
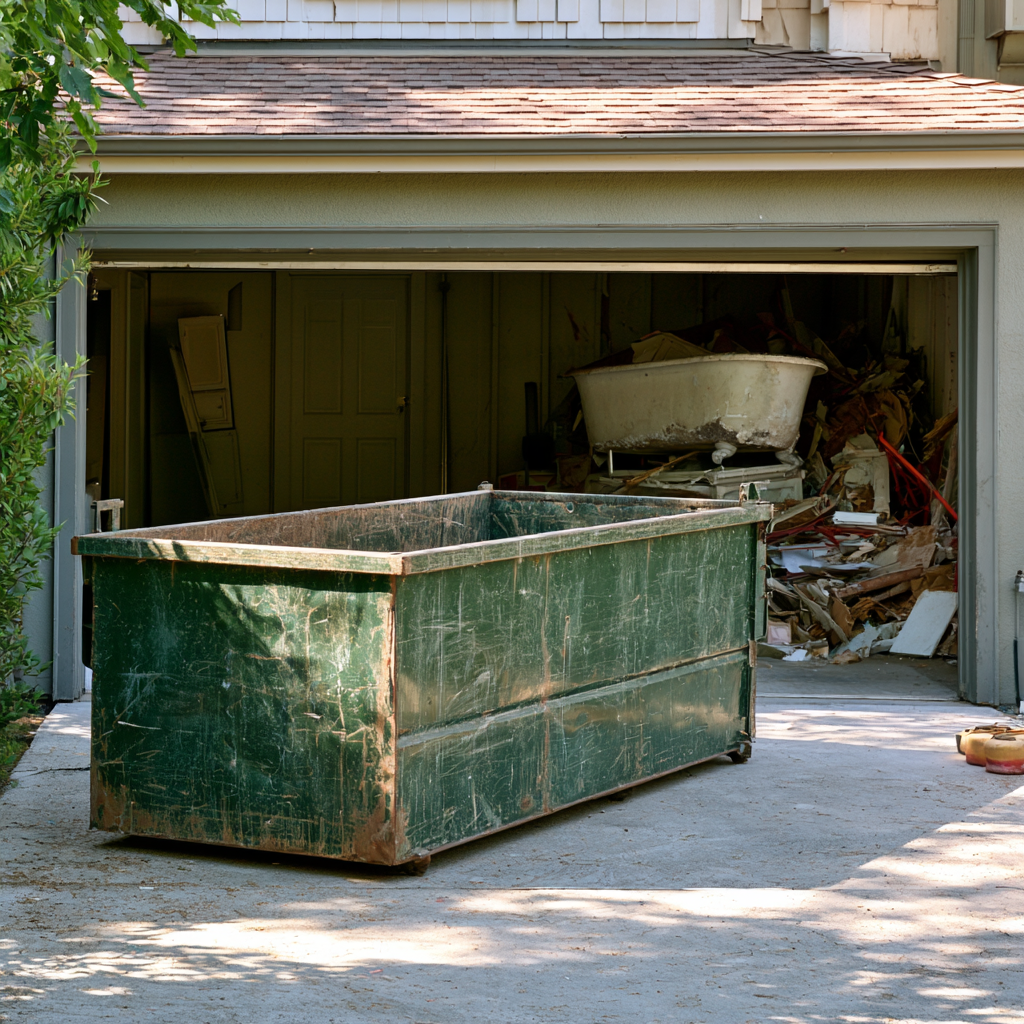
Tile, thinset, and backer board make dense, heavy debris, so a 10-yard dumpster is usually the right choice despite the small footprint of the job.
Here’s where a tile floor surprises people. The debris is dense, and tile combined with thinset and backer board gets heavy in a hurry. A container will hit its weight limit long before it looks full, which is exactly why a smaller dumpster is the smart pick for tile. Loading a roll-off dumpster as you demo also keeps the sharp rubble out of your walkways.
“People see a small pile and want a big box, but tile is all weight,” said the Prime Dumpster Pro. “A 10-yard full of tile can weigh more than a 20-yard full of couches, so we size it for the tonnage, not the look.”
| Size | Dimensions | Best For a Tile Job |
| 10-Yard Dumpster | 12′ × 8′ × 3.5′ | The usual pick; handles heavy tile and thinset within the weight limit |
| 15-Yard Dumpster | 16′ × 7.5′ × 4–5′ | Whole-house tile mixed with lighter flooring |
| 20-Yard Dumpster | 22′ × 7.5′ × 4.5′ | Large multi-room removal alongside other debris |
| 30-Yard Dumpster | 22′ × 8′ × 6′ | Rarely needed for tile alone |
| 40-Yard Dumpster | 22–24′ × 8′ × 8′ | Rarely needed; large renovation debris |
For nearly every tile floor, a 10-yard gives you the weight allowance you need without paying for space you can’t fill.
Frequently Asked Questions
Tile comes up with a chisel or scraper, it can go in a dumpster, and the thinset has to come off before new flooring goes down.
What’s the best way to remove a tile floor?
Break one tile to create an edge, then work a chisel or floor scraper under the rest at a low angle. A rotary hammer speeds up large or stubborn floors.
Can you put tile in a dumpster?
Yes. Tile is heavy, though, so keep it to a smaller container and watch the weight limit rather than reaching for a bigger box.
How long does it take?
A small room can be a single day. A full floor typically runs a weekend, with the mortar removal taking the most time.
Do you have to remove the thinset?
Yes, if you’re installing new flooring. It needs a flat, clean surface, so the old thinset or adhesive has to come off first.
Getting the Old Floor Out for Good
Removing a tile floor is hard, dusty work, but it’s within reach for most homeowners who plan ahead. Line up the right tools, respect the safety steps, and give the mortar the time it demands.
Prime Dumpster is here for the heavy part. We offer flexible rental terms, upfront quotes with no surprises, and a team that’ll help you size the container for a heavy tile load and walk you through the whole rental.
Ready to tear out that old floor? Contact our team for a fast quote and the right dumpster for the job.
If you are looking for How to Prepare Your House to Sell, Click Here
Recent Posts


Follow Us
Have any questions?
+1 844 853 3867
Give us a call today so we can help you find the right waste & sanitation solution for
your project!
Contact Us