
Mon - Sat 7:00 am to 7:00 pm

Construction Roll Off Dumpsters: Your Ultimate (and Beginner-Friendly) Guide
On a busy jobsite, debris piles up fast. When there’s nowhere to put it, crews lose time moving waste around, walkways get cluttered, and safety risks start to build. A well-planned dumpster setup keeps the site clear and the work moving.
The right container, in the right spot, at the right time, can save labor hours and help keep your project on budget. The wrong size or poorly planned placement can do the opposite.
At Prime Dumpster, we put together this guide to construction roll off dumpsters to help project managers, contractors, and builders plan with confidence. It covers how the rental process works, when you need a container, how to choose a size, what affects cost, and how to prepare your jobsite and load safely.
Fast Facts: Construction Dumpster
Construction dumpster planning comes down to choosing a size based on debris weight and volume, keeping heavy materials in 10-yard dumpsters, planning placement and permits early, and scheduling swaps around project phases.
Here’s a quick look at the essentials:
- Choose a size based on both debris volume and weight
- Keep heavy materials like concrete in a 10-yard dumpster
- Plan placement, truck access, and permits before delivery
- Schedule swaps around your heaviest debris phases
- Keep debris level with or below the top of the walls
“The best construction rentals are planned around the project schedule, not just the first day,” says the Prime Dumpster Pro. “When you know which phases will produce the most debris, it’s easy to have the right container in place before it’s needed.”
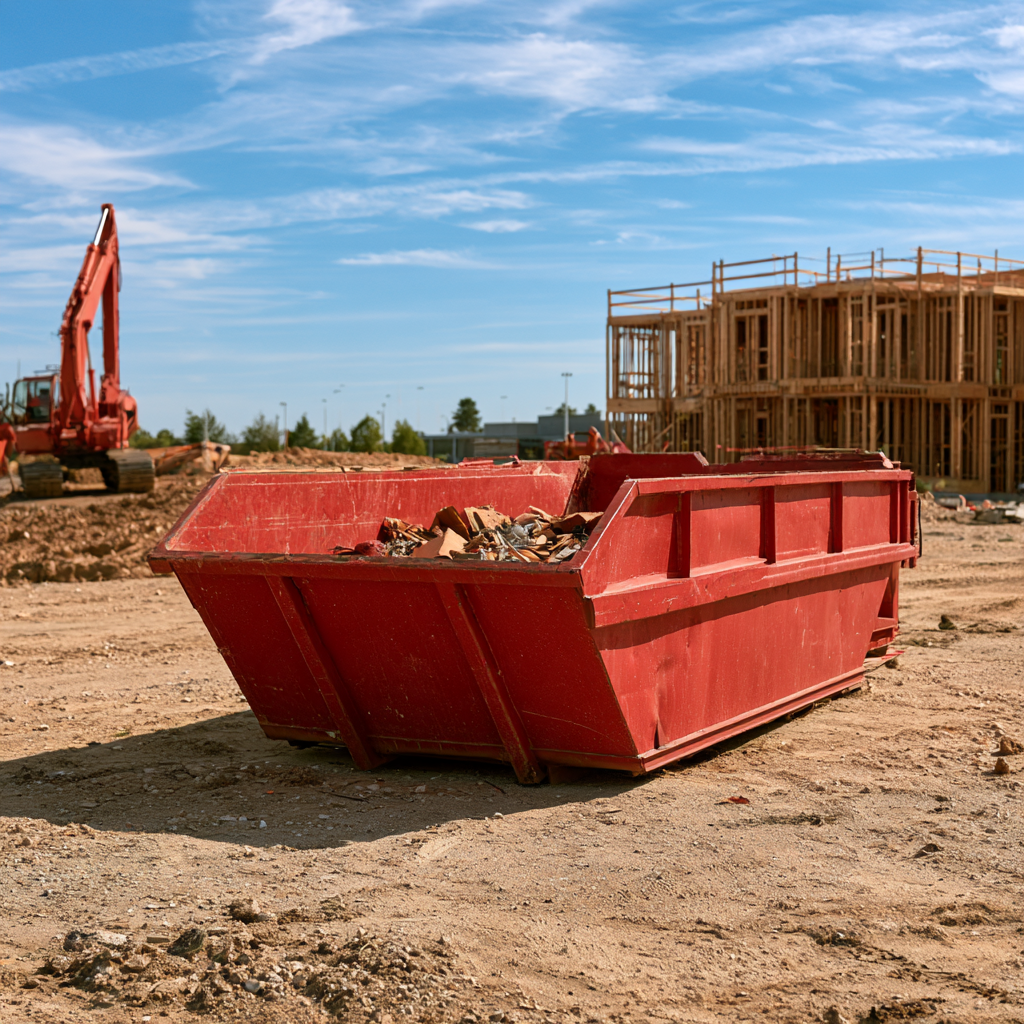
How Dumpster Rentals Work for Construction Sites
Managing waste on a construction site is much easier when you understand the rental process. From the first order to the final pickup, each step fits into your project timeline.
Planning Your Waste Management Strategy
Before ordering, think about the types of materials you’ll be throwing away, how quickly debris will build up, and how long the project will run. Most construction projects produce a mix of materials, and understanding your waste stream helps you choose the right container and avoid extra hauls.
Planning ahead also gives you time to check local rules about placement and what materials can be disposed of together. Many municipalities have specific requirements for construction debris.
Selecting and Ordering Your Dumpster
Once you know what you need, reach out to set up your construction dumpster rental. Share the type and volume of debris, your project timeline, the delivery location, and any site restrictions.
Five days is a common standard rental period, and longer options are typically available for construction projects. The key to flexibility is ordering early, so the right rental length and delivery date can be built into your plan.
The Roll Off Delivery Process
On delivery day, a roll-off truck backs up to the drop spot, tilts its bed, and sets the container down. To make delivery smooth, the driver needs:
- A flat, solid surface for the container
- A straight, clear approach to the drop spot
- Open space overhead, free of wires and branches
- Clear access with no vehicles or materials in the way
You don’t always need to be on site for delivery if the drop spot is clearly marked, but being there lets you confirm the exact placement.
Using Your Construction Waste Container
Throughout the rental period, your construction waste dumpster collects debris as the work moves forward. Each container has a weight allowance, so plan carefully when loading heavy materials.
Some materials can’t go in a standard dumpster, including paint, solvents, asbestos, and certain electronics. Ask your account manager for a list of restricted items before loading. Keep debris level with or below the top of the container walls, since overfilled containers can’t be hauled safely.
Scheduling Pickup or Swap-Outs
When the container is full or your rental period ends, request a pickup. For longer projects, scheduled swaps replace a full container with an empty one so work doesn’t stop while debris piles up.
| Rental Phase | Your Responsibilities | Provider Responsibilities |
| Planning | Assess debris volume and types, check local regulations | Provide guidance on size selection and placement |
| Ordering | Share project details and confirm the delivery location | Schedule delivery and explain rental terms and restrictions |
| Delivery | Make sure the drop spot is accessible and clear | Deliver and position the container safely |
| Usage | Load properly, avoid prohibited items, monitor fill level | Answer questions and coordinate swaps |
| Pickup | Keep access clear and request pickup in advance | Remove the container and transport debris for disposal |
For the compliance side of the job, see Your Guide to Construction Roll Off Dumpster Regulations.
“Communication is what keeps a construction rental on track,” says the Prime Dumpster Pro. “If your schedule shifts or the debris changes, let us know early so the container plan can shift with it.”
Plan your debris, order early, prepare the drop spot, load within the limits, and schedule pickups or swaps as the project moves forward.
When Do You Need a Roll Off Dumpster?
Construction sites produce different types of debris at different stages, so timing your rental matters. This guide on how to use a roll off container covers more about getting the most from your rental.
Demolition
Demolition produces debris quickly from the moment walls and fixtures start coming out. Having a container ready from day one prevents unsafe piles and keeps crews focused on the work.
Framing
New construction projects usually need a dumpster once framing begins. Lumber scraps, packaging, and discarded materials build up fast during this phase.
Major Renovations
Large renovations benefit from having a container on site throughout the project. These jobs produce a steady stream of debris, from tear-out to finish work.
Roofing
Roofing projects create some of the heaviest construction debris. Old shingles, underlayment, and damaged decking add weight quickly, so many roofers schedule delivery for the day tear-off begins.
Landscaping and Site Prep
Land clearing, tree removal, and excavation produce brush, organic debris, and soil. Soil is heavy, so it typically goes in a 10-yard dumpster to stay within weight limits.
Small Renovations
Even smaller remodels can fill a container quickly. A kitchen update produces cabinets, countertops, and packaging that add up faster than many people expect.
Multi-Stage Projects
For phased projects, consider matching container size and swap frequency to each stage. A larger container may make sense during demolition or framing, while a smaller one may be enough for finish work.
Renovation in Occupied Buildings
Renovating an occupied home or business takes extra planning. Position the container for easy crew access while keeping it away from entrances, walkways, and areas people use every day. In homes and child-occupied buildings built before 1978, renovation work may also need to follow lead-safe work practices, which affect how debris is contained and cleaned up.
Plan for a dumpster at the start of demolition, framing, roofing, and major renovations, and adjust container size as project phases change.

Construction Dumpster Sizes and Their Uses
Construction dumpster sizes range from compact containers for tight sites to large units for major builds. Choosing the right one depends on your debris volume, weight, and available space. For more help, see this guide to the best roll off dumpster size for construction.
10-Yard Dumpsters: The Compact Solution
At about 12′ × 8′ × 4.5′ with a weight capacity of up to 2 tons, the 10-yard dumpster has the smallest footprint. It works well for single-room remodels, small demolition jobs, and tight urban sites. Heavy materials like concrete, brick, and soil typically go in a 10-yard dumpster, since they reach weight limits quickly.
15-Yard Dumpsters: The Versatile Middle Ground
The 15-yard dumpster measures about 16′ × 8′ × 4.5′ and holds up to 3 tons. It’s a popular choice for bathroom and small kitchen remodels, flooring removal, and moderate roofing jobs.
20-Yard Dumpsters: The Popular Standard
Measuring about 22′ × 8′ × 4.5′ with a weight capacity of up to 3 tons, the 20-yard dumpster is one of the most popular sizes for construction. It handles full kitchen renovations, larger flooring projects, roofing, and mid-sized demolition.
30-Yard Dumpsters: The Heavy Lifter
The 30-yard dumpster measures about 22′ × 8′ × 6′ and holds up to 4 tons. Its taller walls make it a good fit for new home construction, large renovations, and bulky materials like framing lumber and drywall.
40-Yard Dumpsters: The Maximum Capacity Option
At about 22′ × 8′ × 7-8′ with a weight capacity of up to 5 tons, the 40-yard dumpster is the largest standard size. It’s best for large commercial projects and bulky, lighter debris that fills space before reaching the weight limit.
Comparing Construction Dumpster Sizes
The table below offers a quick comparison to help you select the right size for your project.
| Dumpster Size | Approximate Dimensions | Approximate Weight Capacity | Ideal Applications | Space Notes |
| 10-yard dumpster | 12′ × 8′ × 4.5′ | Up to 2 tons | Concrete, brick, and soil, small renovations | Fits most driveways and tight sites |
| 15-yard dumpster | 16′ × 8′ × 4.5′ | Up to 3 tons | Bathroom and small kitchen remodels, flooring | Fits most driveways |
| 20-yard dumpster | 22′ × 8′ × 4.5′ | Up to 3 tons | Kitchen renovations, roofing, mid-sized demolition | Needs a longer driveway or dedicated space |
| 30-yard dumpster | 22′ × 8′ × 6′ | Up to 4 tons | New construction, large renovations | Needs open space and truck access |
| 40-yard dumpster | 22′ × 8′ × 7-8′ | Up to 5 tons | Large commercial projects, bulky debris | Needs a large, accessible area with overhead clearance |
Weight capacity may vary by location. Bulky materials like framing lumber take up more space, while dense materials like concrete add weight quickly without filling much volume.
“Size by weight first when heavy materials are involved,” says the Prime Dumpster Pro. “For everything else, if you’re between two sizes, going up one usually costs less than ordering a second container mid-project.”
Match the container to your debris volume and weight, and keep heavy materials like concrete in a 10-yard dumpster.
What Factors Influence Construction Dumpster Costs?
Several factors shape what you’ll pay for a construction dumpster. Knowing them ahead of time helps you budget accurately.
Container size has the biggest effect on price. A larger dumpster costs more, but it may be the better value if it prevents a second rental. The rental period matters too, so plan your timeline before you book and share it when you order.
Primary Cost Factors for Construction Dumpsters
Weight is another major factor. Each container includes a weight allowance, and heavy debris like concrete can push a load past it. Other factors include:
- Location: Delivery distance and local disposal costs vary from one area to another.
- Debris type: Some materials need special handling or separate disposal.
- Permits: Placing a container on a public street typically requires a permit.
Keeping debris within the weight limit and below the top of the walls helps you avoid extra charges and safety issues.
Comparing Quotes Effectively
When comparing quotes, look beyond the base price. Ask about:
- The weight allowance included
- The rental period and how extra time is handled
- How extra weight is handled
- Restricted materials
The lowest quote isn’t always the best value if its weight allowance or rental period doesn’t fit your project.
Container size, rental period, weight, location, debris type, and permits all shape the cost of a construction dumpster.
How to Estimate Construction Debris Volume
Estimating construction waste volume helps you choose the right size and avoid delays. A little planning up front goes a long way.
Break the Project Into Phases
Demolition and new construction produce different types and amounts of debris. Estimating each phase separately leads to more accurate numbers. Tearing out walls, for example, produces very different debris than installing new fixtures.
Demolition
For demolition, start by measuring the areas being removed, such as walls, floors, or roofing. Your account manager can help translate those measurements into a container size.
New Construction
New construction produces lumber scraps, drywall offcuts, packaging, and other materials throughout the build. The amount varies by building method and materials, so it helps to track debris during early phases and adjust as you go.
Wood and Drywall
Wood and drywall can be broken down to take up less space. Breaking down bulky pieces before loading helps you get more out of each container.
Brick, Concrete, and Soil
Heavy materials like brick, concrete, and soil reach weight limits quickly, often before the container looks full. These materials typically go in 10-yard dumpsters, and many contractors keep them separate from lighter debris.
Packaging Waste
Don’t overlook packaging. New cabinets, fixtures, and finishes often come wrapped in cardboard, foam, and plastic that can take up a surprising amount of space.
Estimate debris by phase, plan for weight with heavy materials, and account for packaging when choosing a container.
Three Tips for Accurate Estimates
A few habits make debris estimates more accurate over time:
- Track debris in early phases. Keep a simple log of how quickly containers fill to improve estimates for later stages.
- Round up when unsure. A slightly larger container is usually easier to manage than ordering a second one mid-project.
- Keep records from past jobs. Notes on container sizes and swap frequency make future estimates faster and more reliable.
Over time, these habits make it much easier to plan the right setup for each new project.

How to Prepare Your Jobsite for a Roll Off Delivery
A smooth rental starts before the truck arrives. Good preparation prevents delays and keeps your crew working efficiently.
Selecting the Optimal Placement Location
Choose a spot that’s convenient for your crew and accessible for the truck. Concrete or asphalt provides the best support, while softer ground may need protection to prevent sinking. Place the container close to where debris is generated, but not where it creates congestion.
Understanding Clearance Requirements
The truck needs a straight approach to the drop spot and room to tilt its bed. Check for overhead obstacles that could interfere with delivery, including:
- Power lines
- Tree branches
- Roof overhangs
- Covered structures
- Awnings or canopies
Let your account manager know about any potential obstacles when you order, so delivery can be planned around them.
Securing Necessary Permits
If the container will sit on a public street or sidewalk, you’ll likely need a permit from your city or county. Check requirements early, since processing times vary. Common street placement rules include reflective markings, time limits, and restrictions near intersections, hydrants, or driveways. Some areas also have rules for placement on private property, so it’s worth checking either way.
Preparing the Surface
Before delivery day, clear the drop spot of debris, equipment, and materials. On softer surfaces, plywood can help distribute weight and protect the ground. In cold weather, clear snow and ice, and keep in mind that frozen ground can soften as it thaws.
Communicating With Your Provider
Share key site details ahead of time, including gate codes or access restrictions, preferred delivery times, site-specific challenges, and on-site contact information. Having someone on site during delivery helps confirm the best placement.
Coordinating With Project Timeline
Schedule delivery so it doesn’t conflict with other critical construction activities, such as concrete pours, major material deliveries, crane operations, or utility installations. On longer projects, think about how your space needs may change as the work moves from framing to finishing.
Surface Comparison for Dumpster Placement
Where you place your dumpster matters. Here’s a look at common surfaces found on most jobsites and event locations.
| Surface Type | Surface Support | Preparation Needed | Potential Issues | Best For |
| Concrete or Asphalt | Excellent | Minimal, sweep clean | Possible scratching or staining | Heavy debris like concrete, brick, and soil |
| Gravel | Good | Level and compact | Sinking or uneven settling | Medium-weight loads |
| Lawn or Grass | Poor | Plywood sheets | Lawn damage, sinking, mud | Light debris only |
| Dirt or Soil | Fair | Compact and add plywood | Sinking after rain | Short-term placements |
| Street or Public Road | Excellent | Permits and safety markers | Traffic disruption, permit requirements | Sites with limited private space |
Choose a firm, accessible spot, check for overhead obstacles, secure any needed permits, and coordinate delivery with your project schedule.
Construction Dumpster Rental for Contractors
Contractor dumpster rental works best when it’s built into the project plan from the start. On phased jobs, multiple containers or scheduled swaps can keep debris moving without slowing crews down.
A few practices make dumpster rental for contractors more efficient: set clear loading rules for every crew, assign one person to track fill levels and request swaps, and keep a single point of contact with your provider for scheduling changes. These habits help prevent overflow, keep the site organized, and make it easier to plan containers for the next phase.
7 Packing Tips for Safety and Efficiency
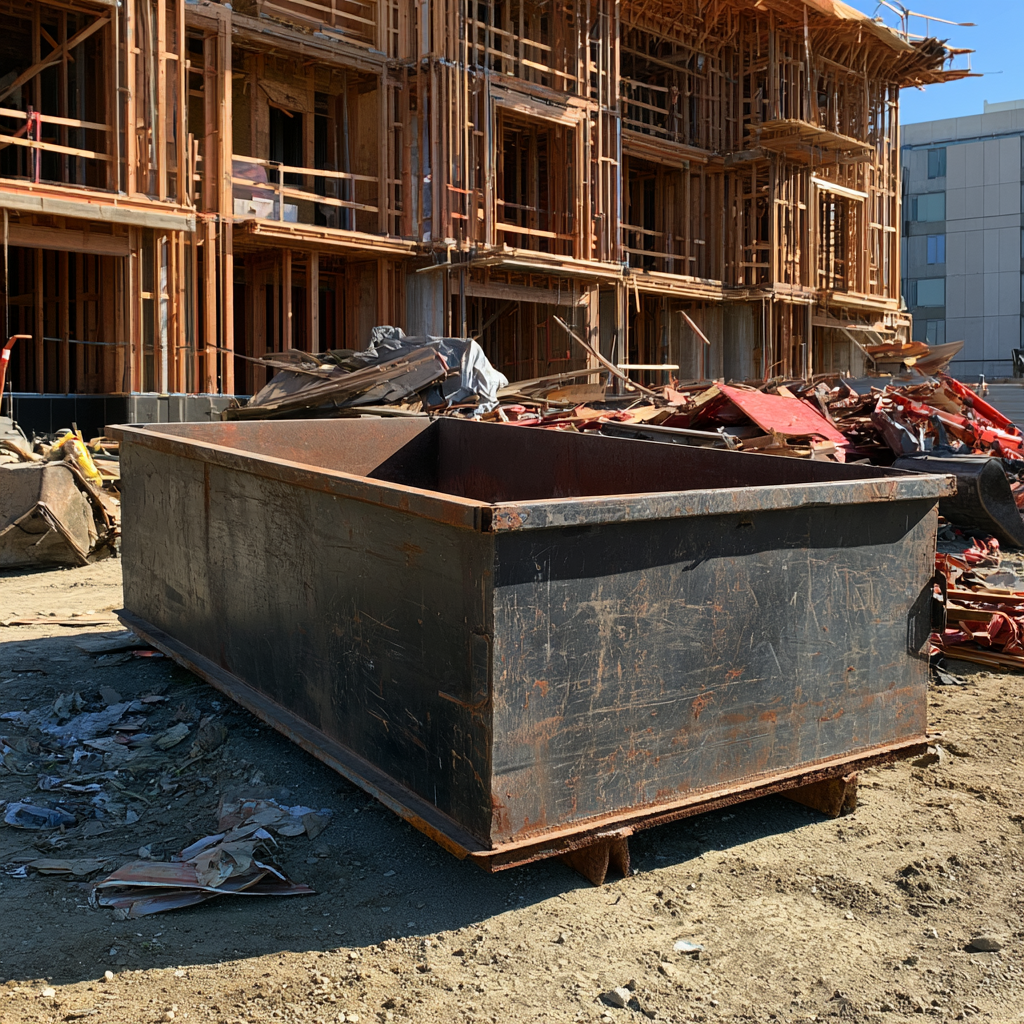
Loading your container properly saves space and helps prevent accidents. Here are seven tips to stay safe while loading on a construction site:
- Start with heavy, flat materials. Spread concrete chunks and similar debris evenly across the floor to create a stable base.
- Break down bulky items. Disassembled cabinets and fixtures take up far less space, and even weight distribution helps prevent shifting during transport.
- Avoid throwing debris over the sides. Walk materials in through the door when possible, which reduces injury risks and damage to the container.
- Know what’s prohibited. Paints, solvents, oils, batteries, tires, and appliances with refrigerants are commonly restricted.
- Mix heavy and light materials thoughtfully. Fill gaps around heavy items with lighter debris. When cutting or breaking up concrete, brick, or stone, using water is a common way to control silica dust, and wetting down dusty debris before loading helps reduce airborne particles.
- Never fill beyond the top of the walls. Overfilled containers can’t be hauled safely, and no one should climb inside to pack debris down.
- Protect the load from rain. Water adds weight and can create runoff, so cover the container when needed.
With these strategies, you’ll make the most of your container while keeping your jobsite safe and efficient.
Building Success Through Smart Waste Management
Construction roll off dumpsters work best when they’re planned as part of the project, not added as an afterthought. Choosing the right size, preparing your site, and loading carefully all help keep your jobsite safe, organized, and on schedule.
At Prime Dumpster, we’re ready to help you choose the right containers and plan delivery and swaps around your project timeline. Contact our team to get started.
If you are looking for How to Load a 15 Yard Dumpster, Click Here
Recent Posts


Follow Us
Have any questions?
+1 844 853 3867
Give us a call today so we can help you find the right waste & sanitation solution for
your project!
Contact Us