
Mon - Sat 7:00 am to 7:00 pm

How to Finish a Basement, From Planning to the Final Cleanup
Learning how to finish a basement is one of the smartest space-adding moves a homeowner can make, because the hardest part is already done. The walls are up, the floor’s poured, and the roof’s overhead. What’s left is turning a cold concrete shell into a room you’ll actually want to spend time in. At Prime Dumpster, we help homeowners clear out the debris a basement finish kicks up, so the project keeps moving instead of stalling under a pile of demo and debris.
This guide walks through the planning that makes or breaks the job, what basement finishing really costs, the work itself from walls to floor, and how to handle the mess along the way.
Fast Facts: What to Know About Finishing a Basement
How long does it take to finish a basement? What steps are involved? While many different factors will be in play, here’s a general rundown of what to expect:
| Difficulty | Advanced, and often best split between DIY work and licensed pros |
| Typical timeline | Often 4 to 8 weeks, but depends on specifics |
| Biggest cost drivers | Electrical, plumbing, and egress |
| Debris to expect | Old clutter, drywall, flooring, and framing |
| Suggested dumpster size to rent | 15 to 20 yards for most finishes |
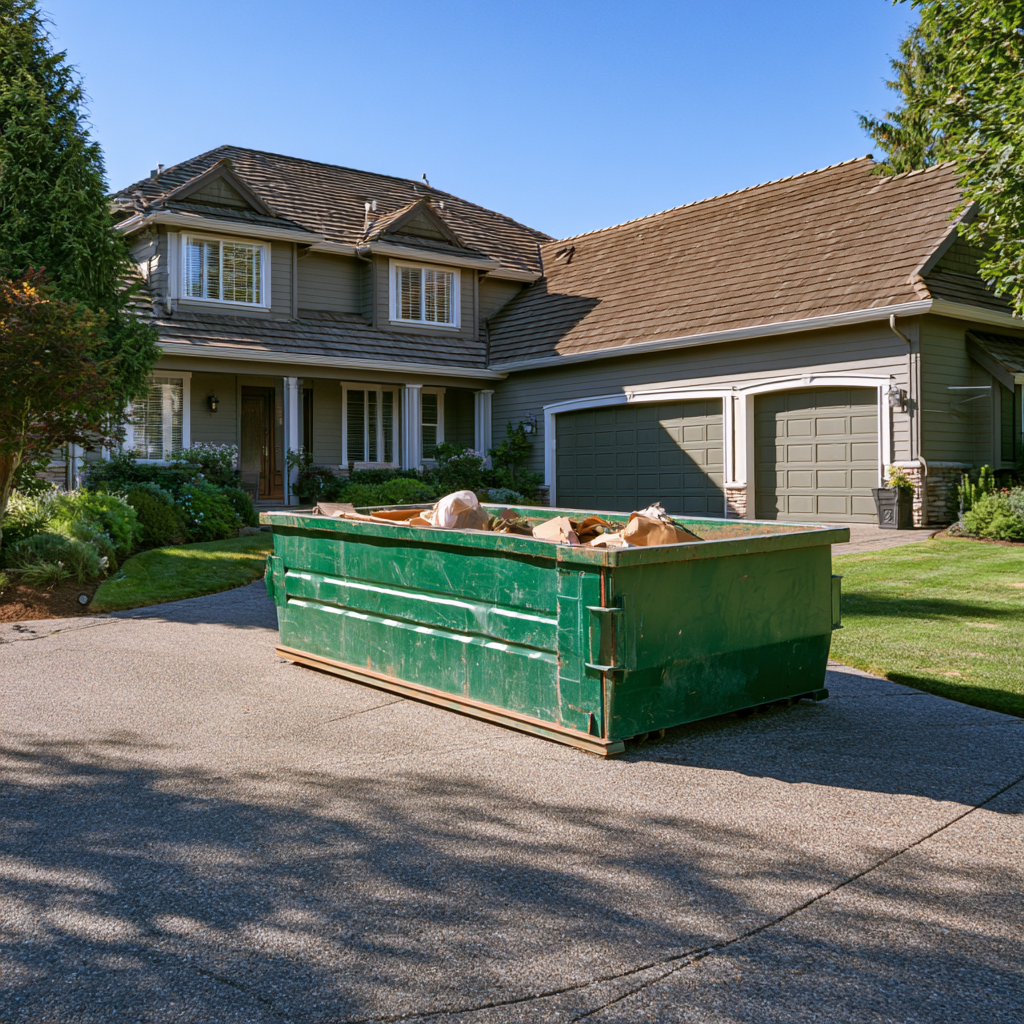
Before the first wall goes up, it helps to know how you’ll handle the debris. At Prime Dumpster, your account manager will walk you through the options, match a container to the size of your finish and your budget, and give you an upfront quote with no guesswork. It’s a quick call that takes one more decision off your plate before the real work begins.
Before You Start: Planning and Prep
The prep work is where basements are won or lost. Skip it, and you can bury a moisture problem behind fresh drywall and pay for it twice.
Start with water. Run a simple moisture test on the slab and walls, and watch for leaks after heavy rain. If the space takes on water, sort out the grading, downspouts, or a sump pump before anything else goes in. A damp basement isn’t a dealbreaker, but it has to be dry before you finish it.
While you’re thinking about what’s in the air and the ground, test for radon. It collects in the lowest level of a home, and the EPA recommends testing for radon before and after a major project like this one. A test kit is cheap, and it’s far easier to add a mitigation pipe now than after the ceiling’s closed up.
Then deal with the paperwork. Finishing a basement almost always requires a permit, because living space follows stricter building codes than storage does. Check your local rules on minimum ceiling height and on egress, since any room used for sleeping needs a proper exit window. If your basement can’t hit those numbers, it’s better to know now.
“Moisture and hidden obstructions wreck more basements than budgets ever do,” said the Prime Dumpster Pro. “People plan for drywall and flooring, then they hit the ductwork, the drain lines, and the wiring hanging under the joists, and the whole layout has to bend around them.”
What It Costs to Finish a Basement
The honest answer to how much does it cost to finish a basement is that it depends almost entirely on scope. A simple open room with paint and flooring sits at the low end. Add bedrooms, a full bathroom, or a wet bar, and the cost to finish a basement climbs fast.
Electrical and plumbing are the line items that move the number most. New outlets, lighting, and any bathroom mean permits, running lines through concrete, and sometimes upgrading your panel. If you’re weighing how much to finish a basement on a tight budget, the levers are simple: keep the layout open, hold new plumbing close to existing lines, and put your money into flooring and lighting that you’ll notice every day.
Basic Prep Meets Real Value
It’s worth remembering that a finished basement doesn’t count toward your official square footage, yet buyers still want one. That’s why the space tends to earn back a healthy share of what you put in, especially when it adds a bedroom or a rental-ready suite.
How to Finish a Basement, Step by Step
With the space dry, permitted, and planned, the build breaks down into four stages: clearing out, then walls, ceiling, and floor.
Clear and Prep the Space
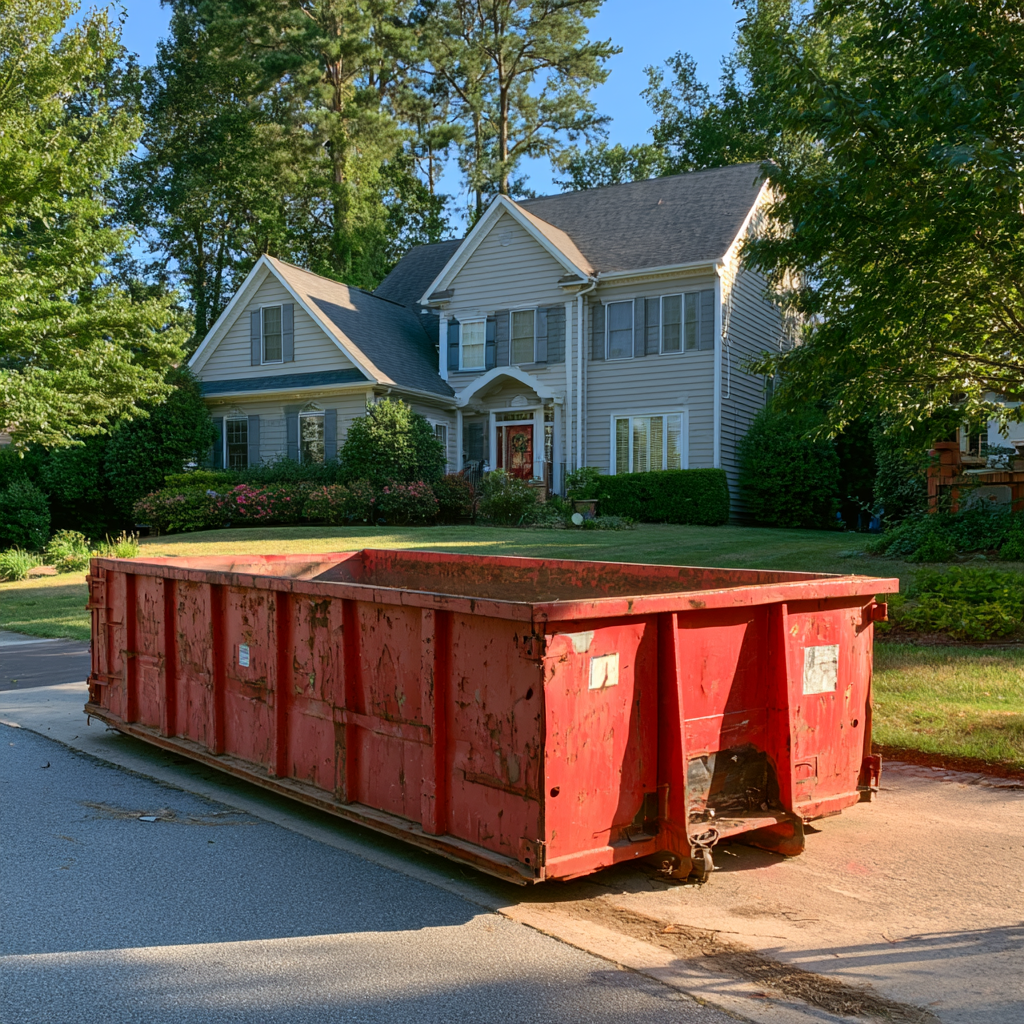
Before any building starts, the basement has to be emptied down to the bare shell. Years of boxes, broken furniture, and forgotten junk all have to go, along with any old finishes you’re tearing out. Renting a roll-off dumpster gives you one place to throw it all, so you’re working in a clean space instead of shuffling piles from corner to corner.
Finish the Walls
Bare foundation walls come first, and they set the tone for the whole room. Rigid foam board applied straight to the concrete is one of the most effective ways to insulate, and the Department of Energy’s insulation guidance is a good primer on getting it right. From there you frame with two-by-fours set 16 inches on center, hang drywall, tape and mud the seams, and paint. Leave the electrical and plumbing runs inside the walls to a licensed pro.
Choose a Ceiling
You’ve got three real options, and they trade off looks against access. A drop ceiling is the easiest and keeps pipes and wiring reachable. Drywall gives the cleanest, most finished look but hides the utilities behind it. Leaving the ceiling open and painting it dark is the cheapest route and leans into an industrial feel. Plenty of basement ceiling ideas start with that single choice.
Lay the Floor
That cold slab needs a buffer before your finished floor goes down. A subfloor of polystyrene and plywood, or at minimum a moisture barrier, adds warmth and guards against damp. On top of that, waterproof options like luxury vinyl plank hold up best down here, which is why so many basement flooring ideas lean on vinyl and tile over carpet.
Clearing Out and Hauling the Debris
A basement finish produces more waste than almost any homeowner expects, between the initial cleanout and the demolition scraps. Sizing the container to the job keeps the work moving. For most finishes, a 15-yard dumpster or 20-yard dumpster is the right call. If your project involves breaking up the slab or other concrete, a 10-yard dumpster is the one to use, since heavy debris hits a weight limit long before it fills a bigger box. A large finish bundled with other remodeling might justify a 30-yard dumpster.
One caution worth heeding: some of what turns up in a basement can’t go in the dumpster at all. Old paint, chemicals, fluorescent bulbs, and electronics count as hazardous waste and need separate disposal. When in doubt, ask before you toss.
Learn more about how to find the best dumpster size for your project in our Dumpster Sizing Resource Page.
Ideas for Your Finished Basement
Once the shell is finished, the fun part is deciding what it becomes. The most popular uses are a family or media room, a home office, a guest suite, a home gym, a theater, or a rental and in-law setup that can bring in income. The blank slate is the whole appeal, and the space can shift roles as your household changes.
Frequently Asked Questions
We asked our Prime Dumpster Pros for their help answering the most common questions we hear about finishing a basement and efficiently disposing of the demo debris.
How much does it cost to finish a basement?
It varies widely by scope. A basic finish is far cheaper than one with a bathroom, since plumbing and electrical drive the price. Size, finishes, and egress work all move the number.
How long does it take?
Most projects run 4 to 8 weeks, though a larger basement or a full bathroom will stretch that.
Does a finished basement add value?
Usually, yes. It doesn’t count toward official square footage, but buyers prize the extra living area, and a new bedroom or rental space returns the most.
Do I need a permit?
Almost always. Turning a basement into living space changes its code classification, so check with your local building department first.
Do I need a permit for a rented dumpster during a basement finish?
Usually not. A dumpster sitting on your own driveway or private property rarely needs one, and that covers most basement projects. You’d typically only need a permit if the container has to sit on a public street, and those rules vary by city. Check with your local government before delivery if street placement is your only option, and your rental provider can often tell you what your area requires.
What’s the most expensive part?
Electrical and plumbing, especially if you’re adding a bathroom or upgrading the panel.
What size dumpster do I need?
A 15 or 20-yard covers most finishes. Use a 10-yard for any load with concrete, and step up to a 30-yard for a basement finished alongside a larger remodel.
Bringing Your Basement to Life
Finishing a basement is the rare project that adds real living space without the cost or disruption of building out. Get the prep right, plan around the obstacles, and the rest is steady, rewarding work.
Prime Dumpster is here to make the messy part simple. We offer flexible rental terms, upfront quotes with no surprises, and a team that’ll help you pick the right size and walk you through the whole rental.
Ready to start your basement? Contact our team for a fast quote and the right dumpster for the job.
If you are looking for Garage Conversion: Ideas, Costs, and What to Know Before You Start, Click Here
Recent Posts


Follow Us
Have any questions?
+1 844 853 3867
Give us a call today so we can help you find the right waste & sanitation solution for
your project!
Contact Us