
Mon - Sat 7:00 am to 7:00 pm

Porta Potty Placement During Construction Phases
Construction sites change week by week, with porta potty placement during construction phases changing from the first excavation to the final inspection. A unit that works well during foundation work can end up far from crews once framing spreads across the site. At Prime Dumpster, we put together this guide to help you keep restrooms close to the work at every stage of a project.
We’ll look at the main phases of construction, explain how placement needs change during each one, and covers safe locations, relocations, and the unit types that fit each phase.
Fast Facts: Porta Potty Placement During Construction Phases
Porta potty placement should shift with each construction phase, starting at the site perimeter during early work and moving closer to active work zones as the building rises.
| Phase | Where Crews Work | Placement Strategy |
| Site Prep and Excavation | Across the lot, near grading and trenching | Site perimeter, clear of machinery paths |
| Foundation and Concrete | Concentrated around the footprint | Perimeter, close to the pour area |
| Framing and Structural | Spread across multiple levels | Near the building, with crane-lift units for upper floors |
| Rough-In and MEP | Inside the structure and along utility runs | Clear of trenching and equipment staging |
| Finish Work | Interior spaces | Near entrances until permanent restrooms are operational |
“Sanitation works best when it’s treated as part of the project schedule,” says the Prime Dumpster Pro. “Plan for repositioning from day one, and crews won’t lose time walking across the site.”
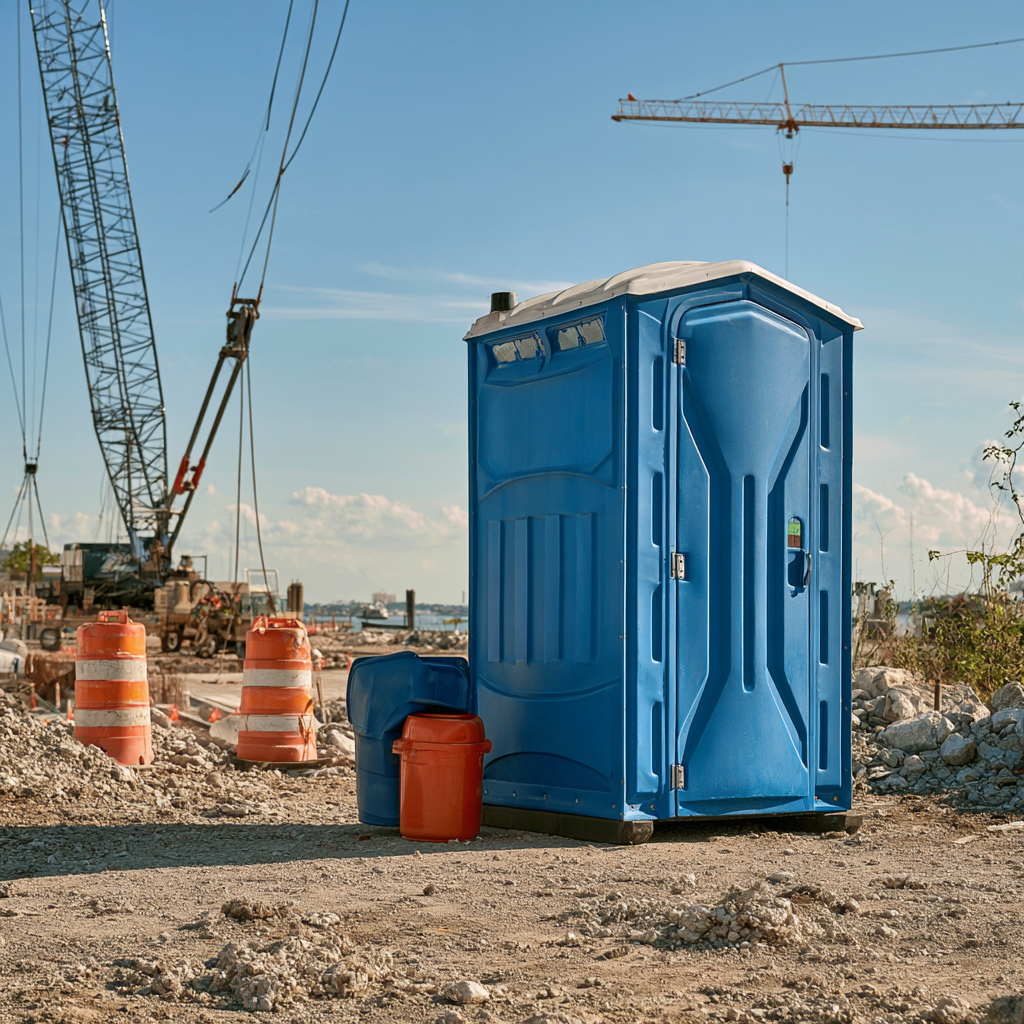
What Are the Phases of Construction?
Most building projects move through five general phases. Each one changes where crews work, how many people are on site, and what the ground looks like around the building.
- Site prep and excavation covers clearing, grading, surveying, and trenching.
- Foundation and concrete work includes forming, pouring, and curing footings and slabs.
- Framing and structural work raises the building’s skeleton, whether wood, steel, or concrete.
- Rough-in and MEP brings in mechanical, electrical, and plumbing trades to run systems through the structure.
- Finish work covers drywall, flooring, fixtures, and punch list items until the building is ready for occupancy.
Because work zones, crew sizes, and site conditions shift at each stage, restroom locations should shift with them.
Construction generally moves through site prep, foundation, framing, rough-in, and finish work, and each phase changes where restrooms belong.

Placement by Construction Phase
Here’s how placement needs change as a project moves from groundbreaking to final walkthrough.
Site Prep and Excavation
Early work spreads across the property as crews clear, grade, and dig. Place units along the site perimeter on stable ground, well away from excavators, dump trucks, and trenching.
Think ahead during this phase. A spot that’s accessible now may be cut off once grading and trenching intensify, so choose a location that will stay reachable for service trucks.
Foundation and Concrete
Foundation work concentrates crews around the building footprint. Keep units at the perimeter but close enough to the pour area that workers can reach them quickly during long pour and curing days.
Make sure concrete trucks and pump equipment have clear routes that don’t pass directly by the restrooms. This keeps both the units and the access path free of heavy traffic.
Framing and Structural
Framing is often when placement matters most. Crews spread across multiple floors and work zones, and ground-level units can become a long walk from where the work is happening.
Move units closer to the building footprint as vertical construction begins. On taller structures, crane-lift porta potties can be placed on upper levels so workers don’t have to travel to the ground for every break.
Rough-In and MEP
Mechanical, electrical, and plumbing trades cycle through the site during rough-in. Coordinate placement with trenching for utilities, sewer tie-ins, and equipment staging so units don’t block critical access points.
This is also a good time to confirm service trucks can still reach every unit. New trenches and material staging areas can cut off routes that worked during earlier phases.
Finish Work
Crews move indoors during finish work, and clients and inspectors visit more often. Place units near building entrances or paved paths, and consider upgraded units for a more professional appearance.
Keep porta potties on site until interior plumbing has passed inspection and permanent fixtures are fully working. Removing units too early can leave the last trades on site without restroom access.
Placement moves from the perimeter during early work to the building itself during framing, then toward entrances as finish work begins.
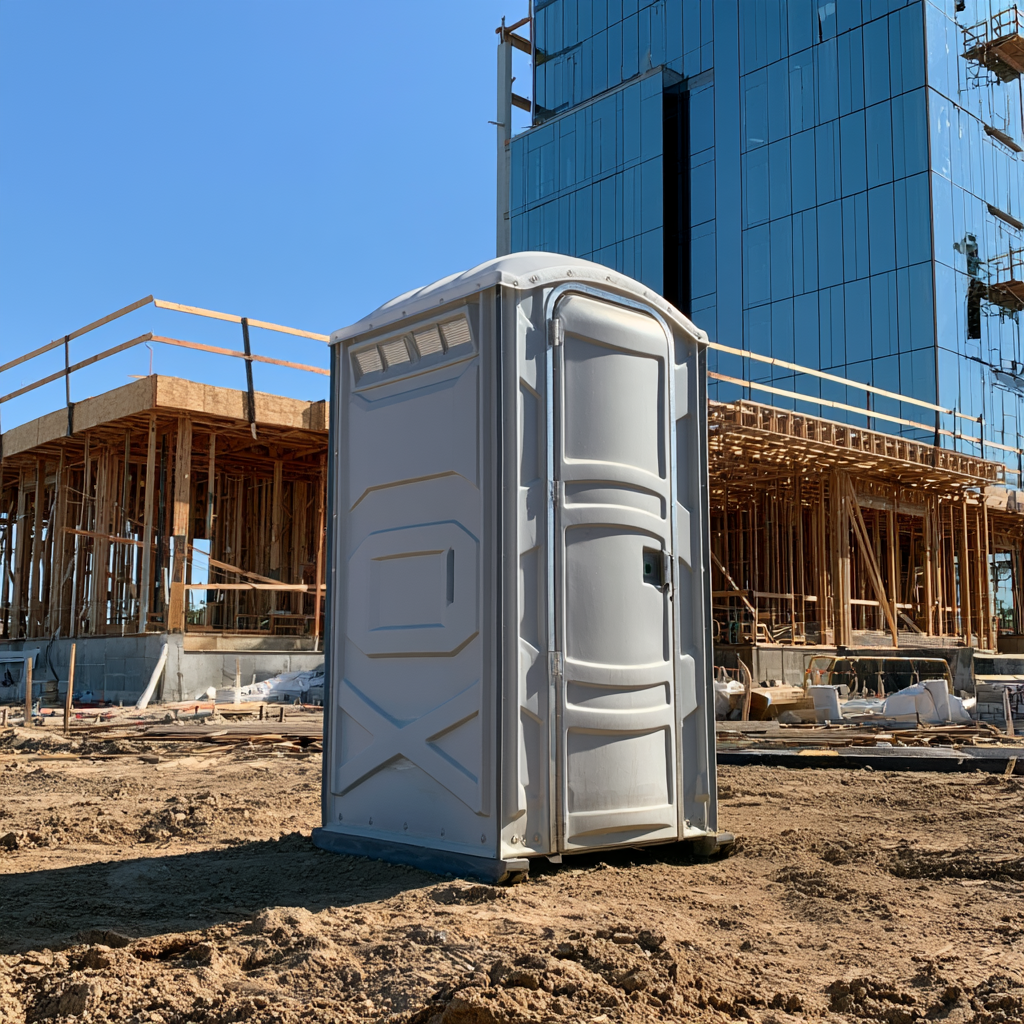
Porta Potty Types for Each Construction Phase
The right unit depends on crew size, project length, and the phase you’re in. Browse all porta potty rental options or use the table below to match unit types to your project.
| Unit Type | Best Phases | How It’s Used |
| Standard Unit | All phases | Basic restroom for general crews throughout the project |
| Handicap Accessible | All phases | Extra interior space and grab bars for workers who need easier access |
| ADA-Compliant Unit | All phases, especially finish work | Meets accessibility standards for crews, inspectors, and visitors |
| Deluxe with Sink | Foundation through finish | Built-in sink for handwashing on longer projects |
| Deluxe Flushing | Rough-in and finish | Flushing toilet and improved odor control near client areas |
| Solar Unit | Site prep and early phases | Solar lighting and ventilation for sites without power |
| Crane-Lift Unit | Framing and structural | Placed on upper floors of multi-story buildings |
Many projects use more than one type. A common setup pairs standard units for crews with an upgraded unit near the site office once finish work begins.
Choosing Safe Locations at Every Phase
Safe placement starts with understanding your site. You know where machinery operates, where materials get stored, and how the site will change in the coming weeks.
Keep these guidelines in mind whenever you place or move a unit:
- Stay clear of crane swing areas, excavations, and heavy equipment paths
- Choose firm, level ground to prevent tipping and spills
- Keep a clear route for service trucks to reach every unit
- Add temporary lighting for early morning and evening shifts
- Consider upcoming work that could block access later
Placing units with future phases in mind reduces the number of moves you’ll need over the life of the project.
“If the pump truck can’t reach the units, you’ll have bigger problems than unhappy workers,” says the Prime Dumpster Pro.
Planning Relocations as the Project Evolves
A good sanitation plan moves with your crews. Waiting for complaints usually means workers have already lost time walking to distant units.
Walk the site weekly and compare where crews are working to where units are placed. When you know a new phase is coming, such as interior work on an upper floor, plan the move in advance and give your rental provider notice so they can schedule it.
Schedule relocations during low-disruption times, like lunch breaks or shift changes. Building a few relocations into your initial budget also helps, since multiple moves are a normal part of longer projects.
For more on fitting restrooms into your overall site plan, see our guide to porta potty integration for construction sites.
How Crew Size Affects Placement
Crew sizes rise and fall across phases, and your unit count should follow. Framing and rough-in often bring the largest crews, which is when many sites add units or spread them across more locations.
OSHA’s construction sanitation standard requires at least one toilet for crews of 20 or fewer, with requirements increasing as crews grow. Many contractors plan for one unit per 10 workers to keep lines short during breaks.
When crews split across several work zones, placing units in more than one location often works better than clustering them all in one spot.
Weather Considerations by Season
Weather affects where units should go at every phase. Planning ahead keeps restrooms stable and usable year-round.
A few seasonal adjustments make a big difference:
- Summer heat. Choose shaded spots and increase service frequency to control odors.
- Winter cold. Place units in sheltered areas and ask about winterizing to prevent freezing.
- High winds. Position units near buildings or temporary fencing and make sure they’re properly anchored.
- Heavy rain. Avoid low spots, choose well-drained ground, and consider gravel pads.
Regular inspections help catch leaning, sinking, or standing water before they become safety problems.
Keeping Restrooms Close at Every Stage
Successful porta potty placement during construction phases means treating restrooms as part of your site plan rather than a one-time setup. Units belong at the perimeter during early work, closer to the building during framing, and near entrances once finish work begins.
Prime Dumpster helps contractors nationwide find the right portable sanitation setup for every phase of a project. Contact our team to plan restrooms for your next job site.
If you are looking for Q&A with the Prime Dumpster Pros: Coordinating Porta Potties with Trade Contractors, Click Here
Recent Posts


Follow Us
Have any questions?
+1 844 853 3867
Give us a call today so we can help you find the right waste & sanitation solution for
your project!
Contact Us