
Mon - Sat 7:00 am to 7:00 pm
Dumpsters for Home Renovation: A Complete Guide to Sizing, Cost, and Waste Disposal
A home renovation can transform your space, but it also generates a substantial amount of debris. Old flooring, drywall, cabinetry, and fixtures all need to go somewhere, and managing that waste efficiently keeps your project on schedule and your workspace safe.
At Prime Dumpster, we help homeowners manage waste for renovations of every size. This guide covers what you need to know about renting a dumpster for home renovation, from choosing the right size to understanding cost and staying compliant with local regulations.
Fast Facts: Dumpster for Home Renovation
Understanding the dumpster sizes available for rent makes it easier to match your container to the scope of your renovation before delivery day.
| Dumpster Size | Approximate Dimensions | Common Renovation Use | Tip |
| 10-Yard Dumpster | 12′ x 8′ x 4.5′ | Bathroom remodels, small flooring or fixture replacements | Ideal for driveway placement without a permit in most areas |
| 15-Yard Dumpster | 16′ x 8′ x 4.5′ | Kitchen remodels, single-room renovations | A good middle-ground size when you are unsure between a 10 and 20-yard |
| 20-Yard Dumpster | 22′ x 8′ x 4.5′ | Multi-room renovations, roofing projects | Watch weight limits closely if disposing of shingles or tile |
| 30-Yard Dumpster | 22′ x 8′ x 6′ | Whole-home renovations, additions | Confirm placement space and access before booking |
| 40-Yard Dumpster | 22′ x 8′ x 7-8′ | Major renovations, full gut jobs | Best suited for properties with ample driveway or yard space |
Dimensions and weight capacity are approximate and may vary based on local availability and provider.
Matching your dumpster size to the scope of your renovation from the start helps you avoid the cost and hassle of a second rental partway through your project.
What Renovation Waste Can Go in a Dumpster
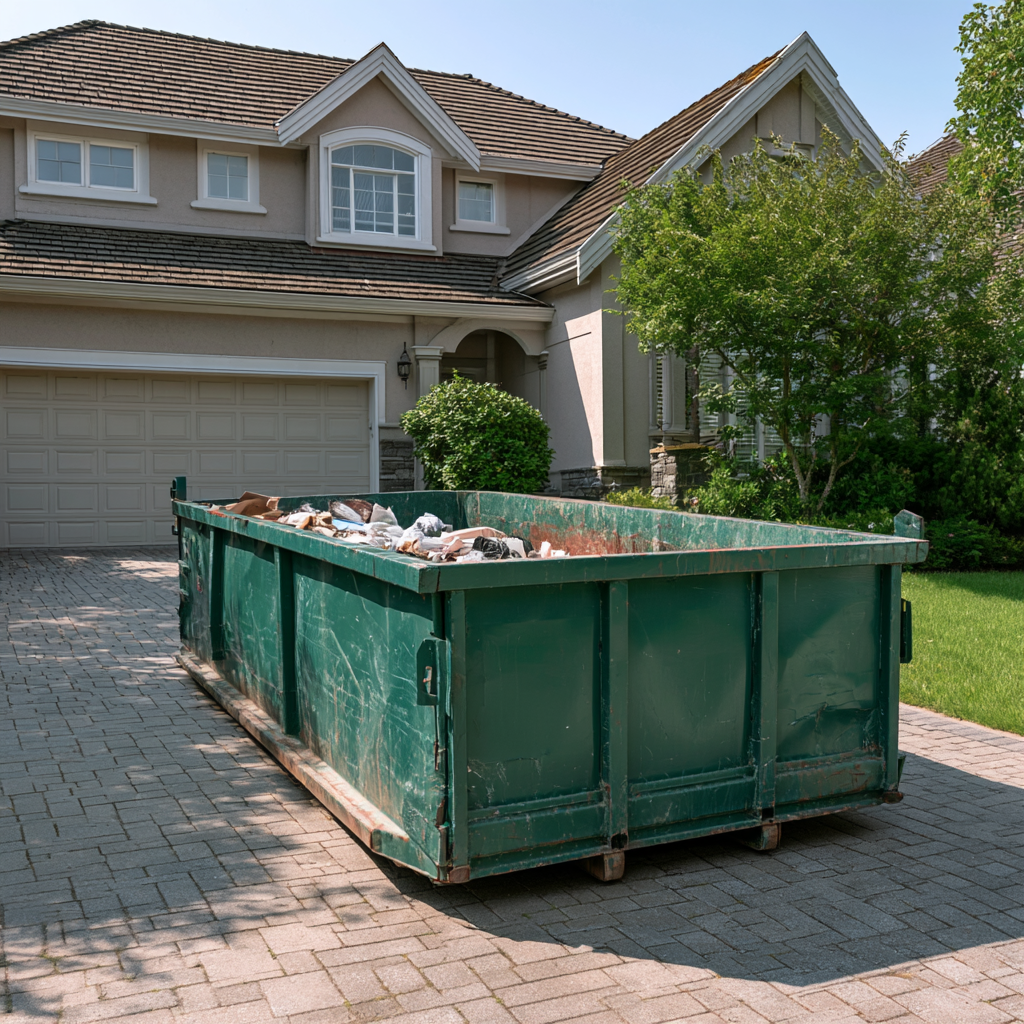
Renovation projects generate a wide variety of waste, and a roll-off dumpster is built to handle most of it. Old flooring, drywall, cabinetry, doors, and general construction debris are all accepted in a standard rental.
| Material | Accepted | Notes |
| Drywall | Yes | Breaking it into smaller pieces makes loading easier |
| Wood | Yes | Remove nails where possible |
| Metal | Yes | Separating from other materials speeds up recycling |
| Flooring | Yes | Most types accepted, including tile and hardwood |
| Furniture | Yes | Disassemble large items to save space |
| Concrete, brick, and asphalt | Yes | Dense materials require careful weight tracking |
Dense materials like concrete, brick, and masonry deserve special attention. Weight limits for these materials stay roughly flat regardless of dumpster size, so a larger container does not necessarily mean you can dispose of more concrete. In many cases, using multiple 10-yard dumpsters for heavy debris is more practical and cost-effective than renting a single larger container.
Choosing the Right Dumpster Size for Your Renovation
Selecting the right size depends on the scope of your project and the type of materials you are removing. Renovations that involve a single room, such as a bathroom update, typically require less capacity than whole-home projects.
Small renovations, including bathroom remodels or minor flooring replacements, are usually well served by a 10 or 15-yard dumpster. Medium-sized projects, such as kitchen remodels or roofing repairs, often call for a 20-yard container. Larger renovations, including whole-home remodels or additions, may require a 30 or 40-yard dumpster to accommodate the volume of debris generated.
If you are unsure which size fits your project, it is generally better to size up slightly than to run short partway through the renovation and need a second rental.
Cost of Renting a Dumpster for Home Renovation
Dumpster rental costs for home renovation projects typically range from $399 to $499 for a 10-yard container and $499 to $649 for a 20-yard container. Larger sizes cost more but may be more economical than multiple smaller rentals for extensive projects.
Several factors influence your final price:
- Dumpster size: Larger containers cost more upfront but offer greater capacity, which can reduce the need for a second rental.
- Location: Disposal fees, landfill costs, and delivery distance vary by region, affecting overall pricing.
- Debris type: Certain materials, including concrete and other dense debris, may require specific handling that affects cost.
- Rental duration: Standard rentals typically run five to 10 days, with extension fees applying if your project runs longer.
- Weight limits: Exceeding your dumpster’s weight allowance results in overage fees, so discussing limits with your provider upfront helps you budget accurately.
Every renovation is different, so the most accurate way to budget is to request a quote based on your project’s specific scope and location before delivery day.
The Dumpster Rental Process
Renting a dumpster for a home renovation is a straightforward process when you know what to expect at each step.
Delivery and Placement
A flat, paved area works best for delivery, and most rental companies need adequate vertical clearance to maneuver the truck. Driveways are typically the best placement option for residential projects, as they prevent damage to lawns and landscaping. Placing wood planks under the dumpster helps protect your driveway surface from scuffs or cracks.
Rental Duration
Standard rental periods typically run five to 10 days, which covers most renovation timelines. If your project runs longer than expected, most providers offer extensions for a daily fee, so notifying your provider early helps you avoid last-minute complications.
Pickup and Disposal
Once your dumpster is full or your project is complete, contact your provider to schedule pickup. Confirm that all debris is below the fill line and that no prohibited materials have been added, as these can result in additional fees at pickup.
Permits and Regulations for Residential Dumpster Use
Dumpster regulations vary significantly by municipality, so checking local requirements before delivery helps avoid delays. Many cities require a permit if the dumpster will be placed on a public street rather than a driveway, while placement entirely on private property typically does not require one. Processing times for permits vary by location, so applying early is generally a good practice if street placement is necessary.
If you live in a community with a homeowners association, review any relevant guidelines before your dumpster arrives. Some associations have specific rules about placement and duration, and confirming these details in advance can prevent unnecessary complications during your renovation.
Tips for Loading Your Dumpster Efficiently
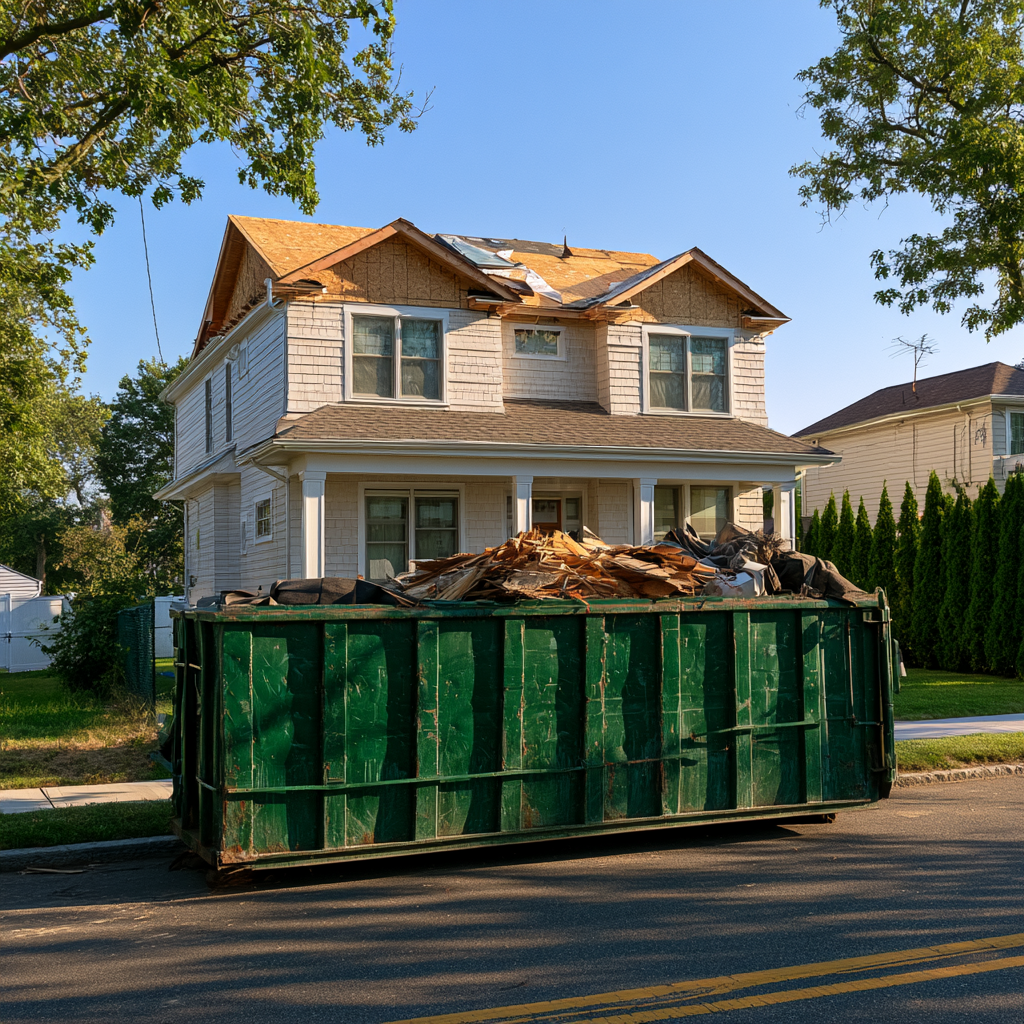
Loading strategy matters as much as dumpster size when it comes to getting the most out of your rental. Start with the bulkiest, heaviest debris, positioning it flat across the base rather than piling it in one corner. This keeps the load balanced and leaves you more usable space for everything that follows.
Cabinetry, doors, and other large fixtures take up far less room once broken down, so disassembling what you can before loading pays off quickly. A loading door, if your dumpster has one, is worth using for heavier pieces since it lets you walk items in rather than lifting them over the side.
Keep an eye on the fill line and check in with your provider about weight limits before you get too far into the project. Dense renovation debris like tile or drywall can hit a weight ceiling well before the container looks full, so pacing your loading with that in mind helps you avoid a surprise at pickup.
Environmental Considerations and Recycling
Many dumpster rental providers offer recycling options for common renovation materials, helping reduce the environmental impact of your project. Metal waste is often recyclable through local scrap facilities, and wood waste may be accepted at certain recycling centers depending on your area.
Asking your provider about recycling options before your renovation begins is a simple way to divert usable materials from the landfill while keeping your project on track.
A Smoother Renovation Starts With the Right Dumpster
Managing waste well is one of the more overlooked parts of a successful renovation, but it makes a real difference in how organized and on-schedule your project stays. Choosing the right dumpster size, understanding what it costs, and knowing the local rules ahead of time all add up to fewer surprises once work begins.
When you are ready to get started, Prime Dumpster can help you find the right container for your renovation, backed by straightforward pricing and delivery scheduled around your timeline. Reach out to our team to talk through your project and get your renovation moving forward.
If you are looking for Apartment Dumpster Services: Guide for Property Managers, Click Here
Recent Posts


Follow Us
Have any questions?
+1 844 853 3867
Give us a call today so we can help you find the right waste & sanitation solution for
your project!
Contact Us